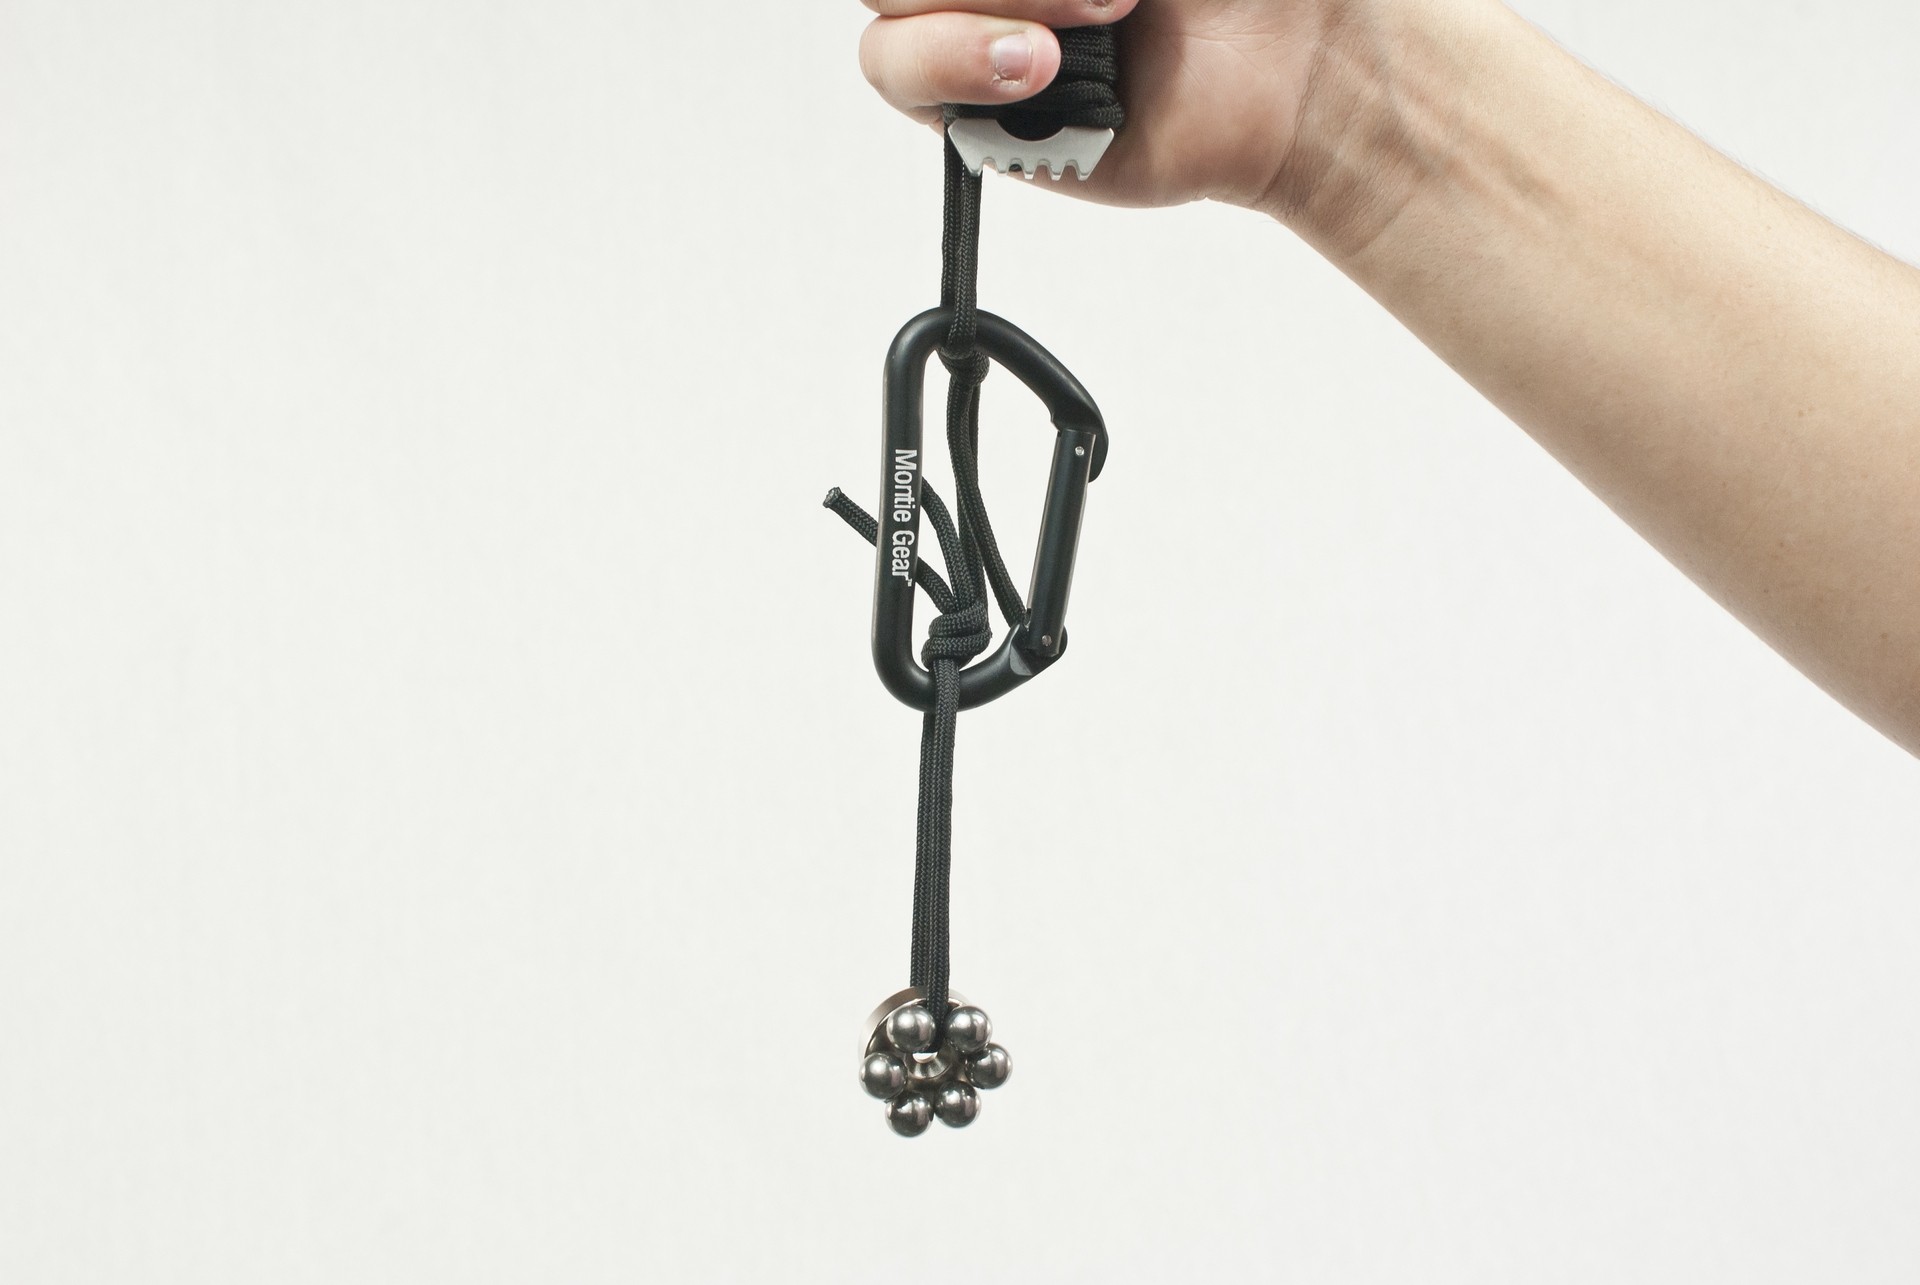
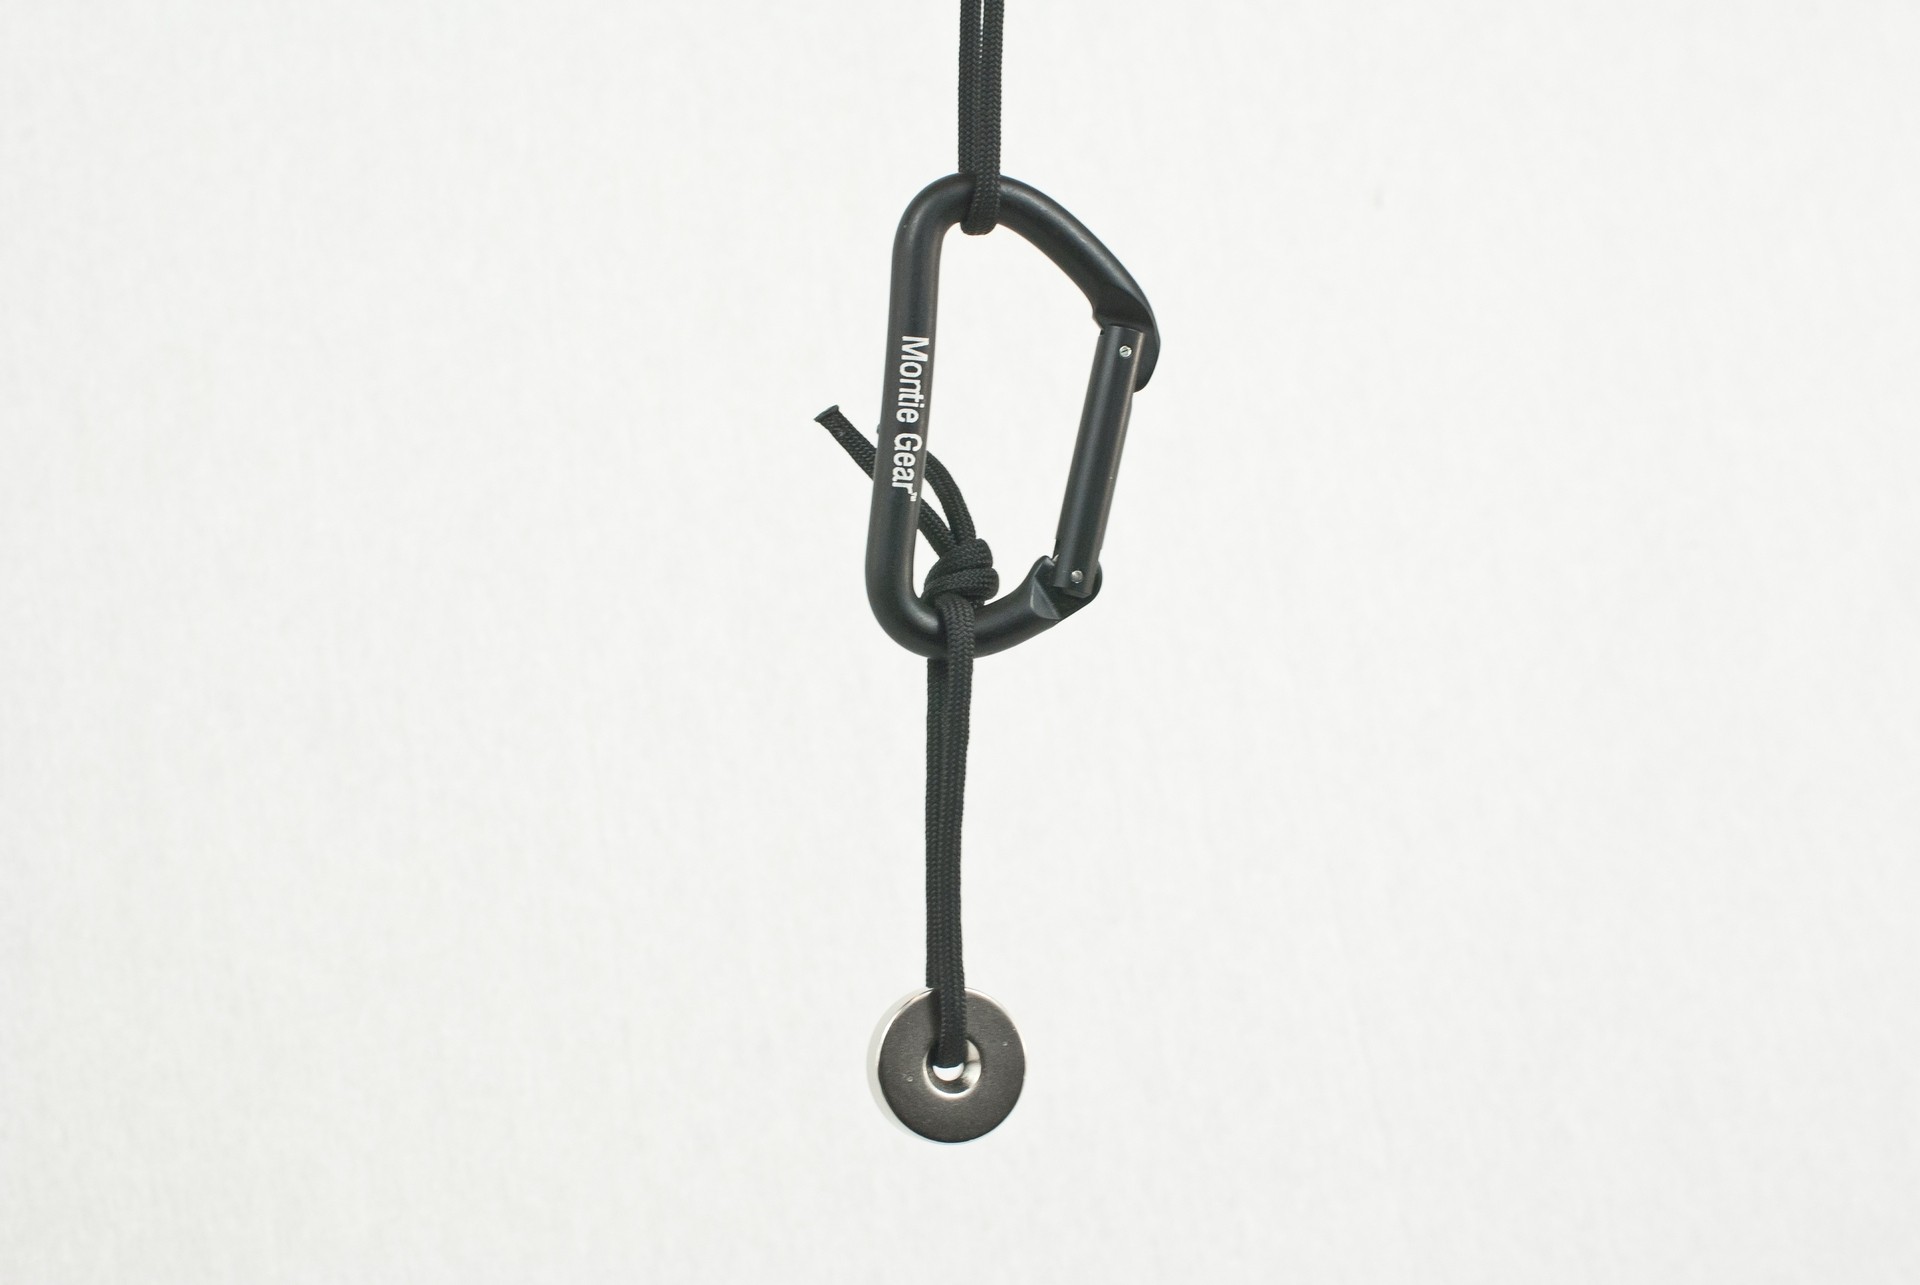
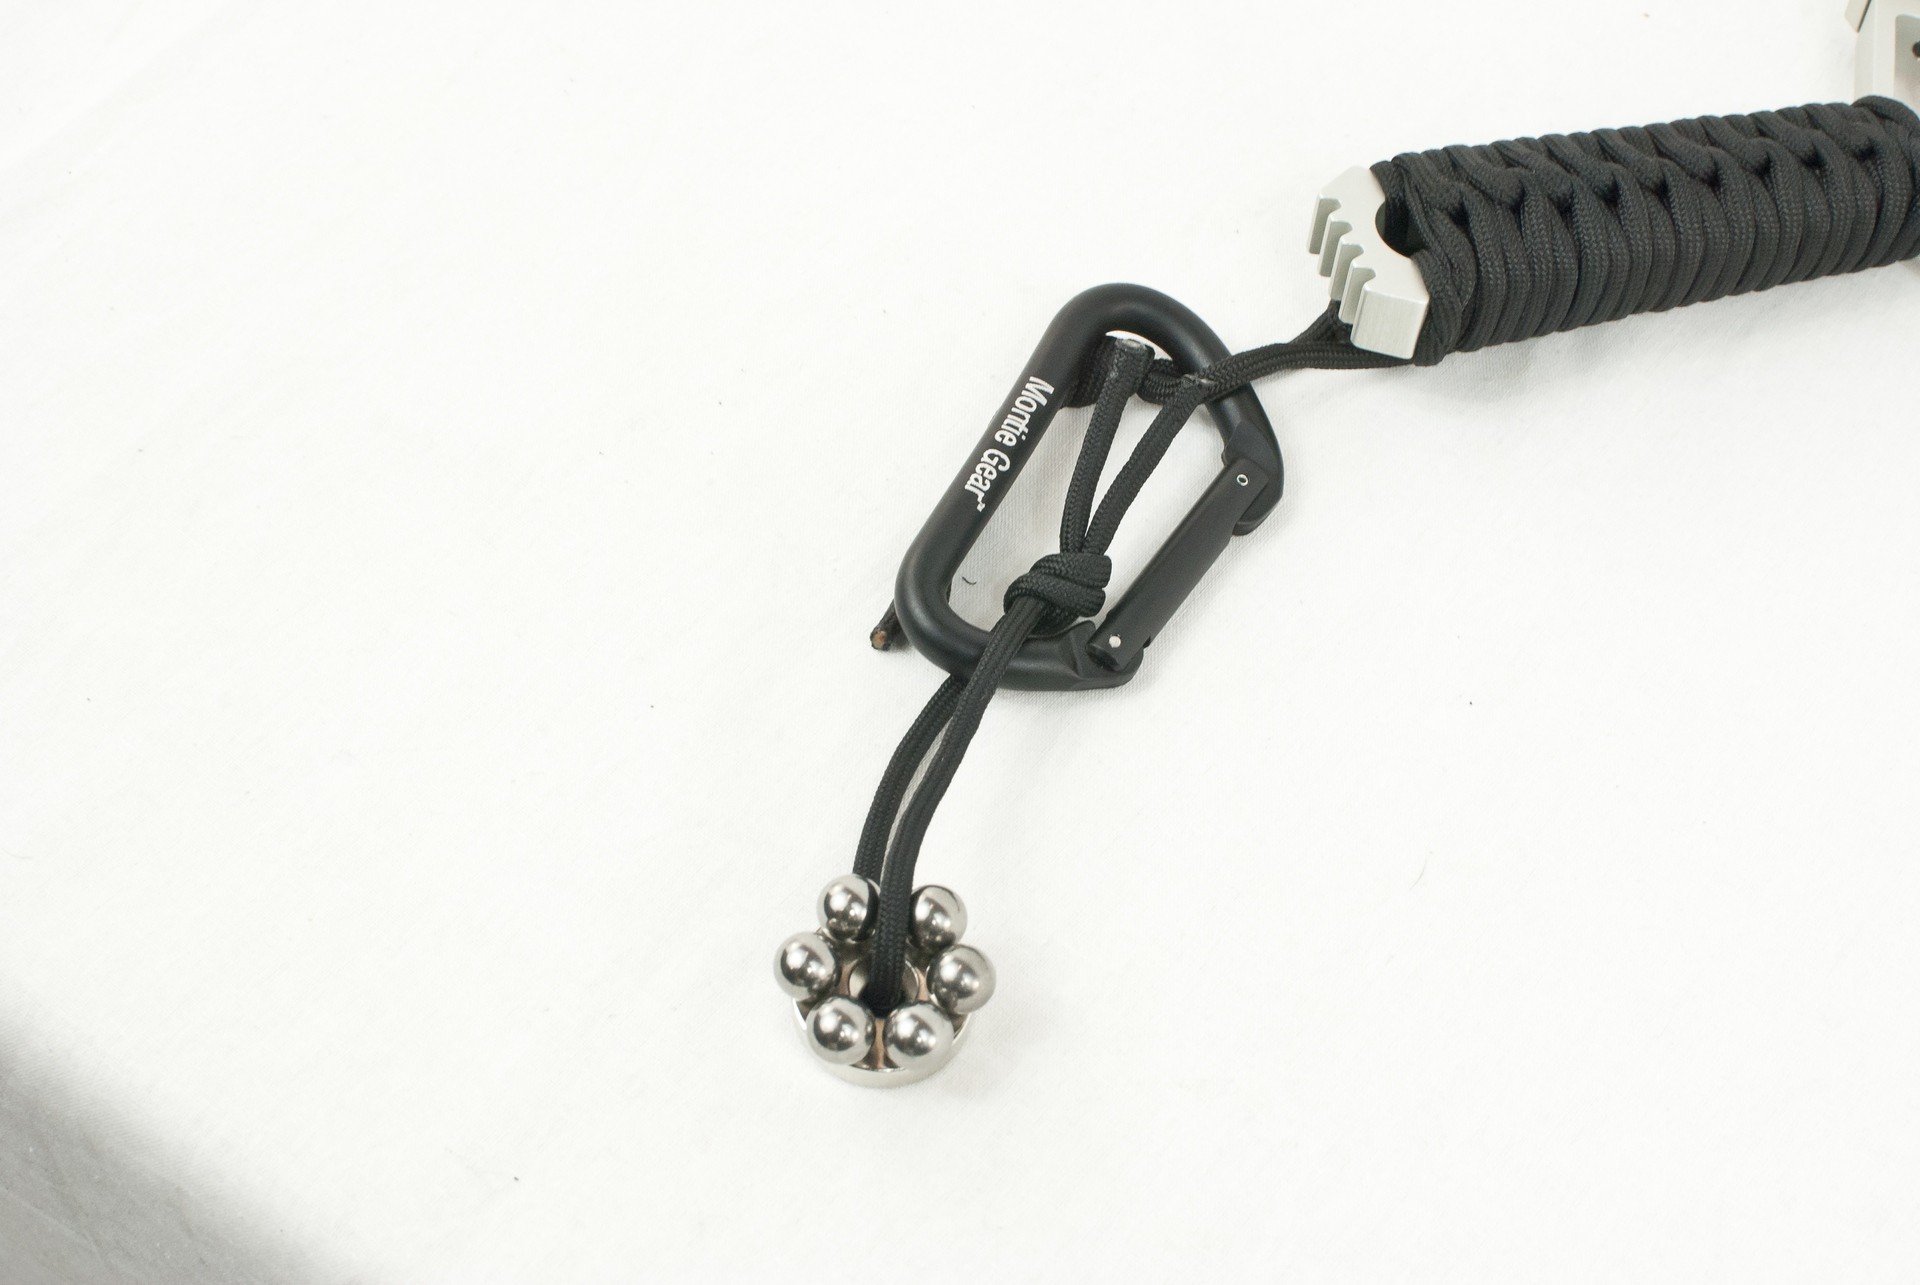
We have been working on the concept of a very simple ammo holder and here is our prototype. Keep up with the latest at www.montiegear.com/blog


RFID Tools that Work!

We have been working on the concept of a very simple ammo holder and here is our prototype. Keep up with the latest at www.montiegear.com/blog
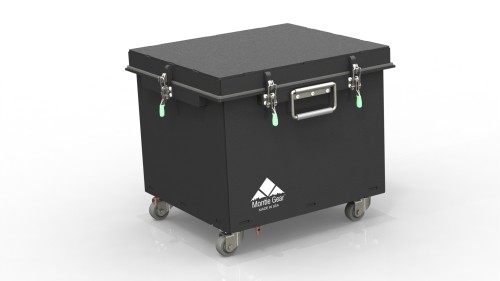
One project we’ve been working on is an EMP resistant box, otherwise known as a Faraday Cage. This product has applications for military use and civilian / prepper use. In this podcast I talk about what the box is, the rationale we used to design it, and how we plan to test it.


For more information visit: http://www.montiegear.com/EMP-Resistant-Box-faraday-cage.html
Podcast: Play in new window | Download
Subscribe: RSS
Hey Y’all,
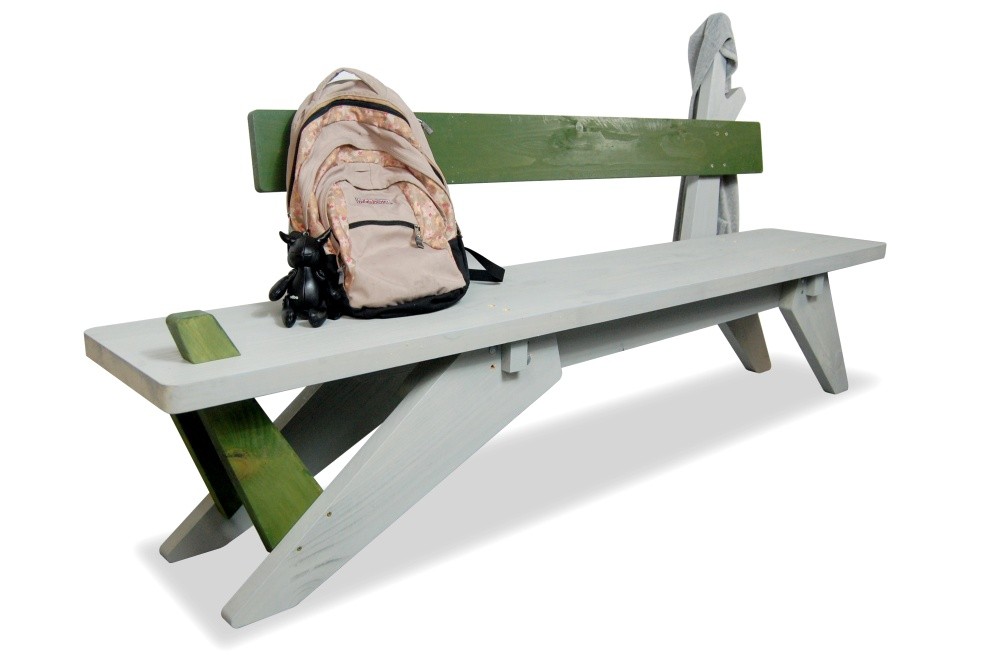
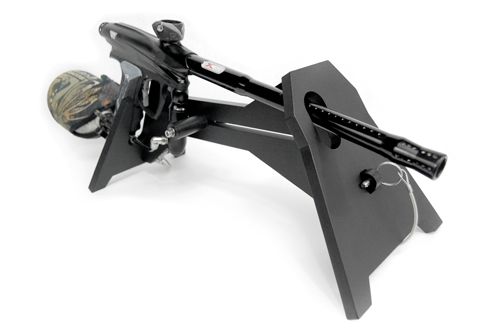
Over the past few weeks we have been working on a Paintball Marker Stand. This stand can be broken down into three pieces using the pins on the sides of the stand. The marker is supported by the U-Shaped cut out in the back of the stand and the Slot in the front of the stand. The sliding cylinder, seen in the middle of the stand, allows this stand to support the marker and prevent it from falling forward and out of the stand. This slide also allows the stand to work with multiple markers. Everything is going well and we should be trying out a prototype soon.
Thanks for Reading,
Daniel Helms


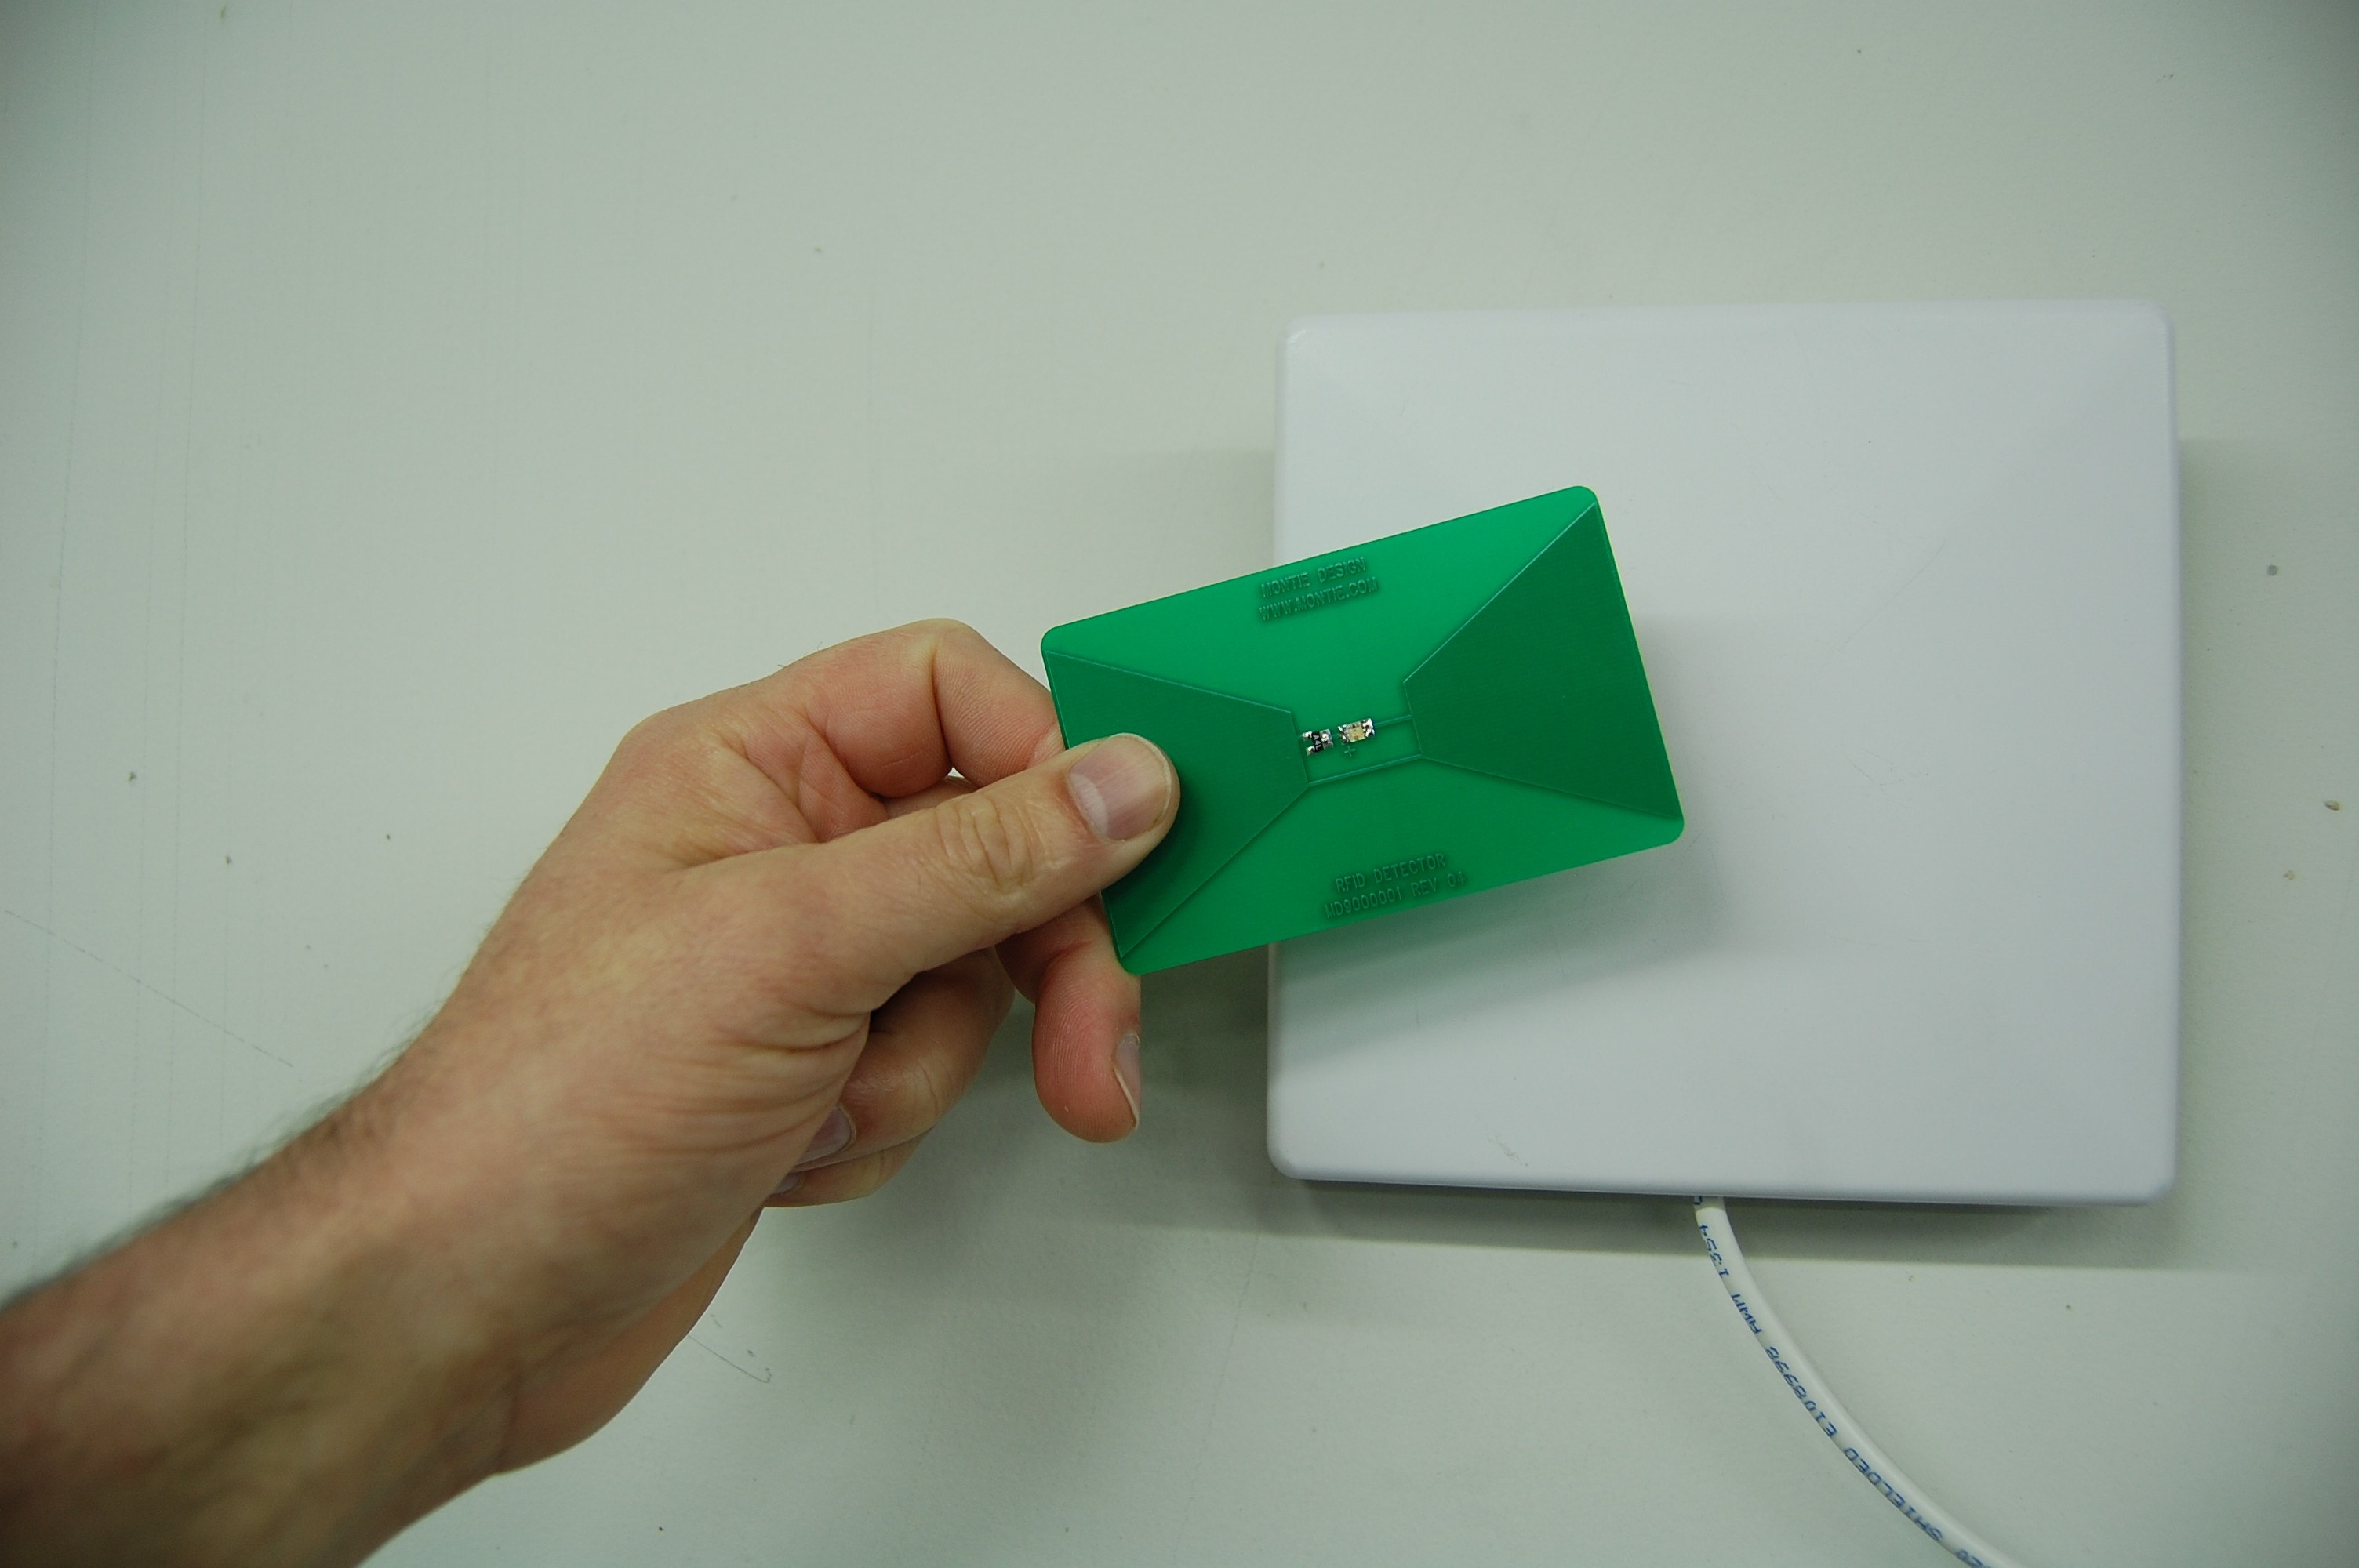
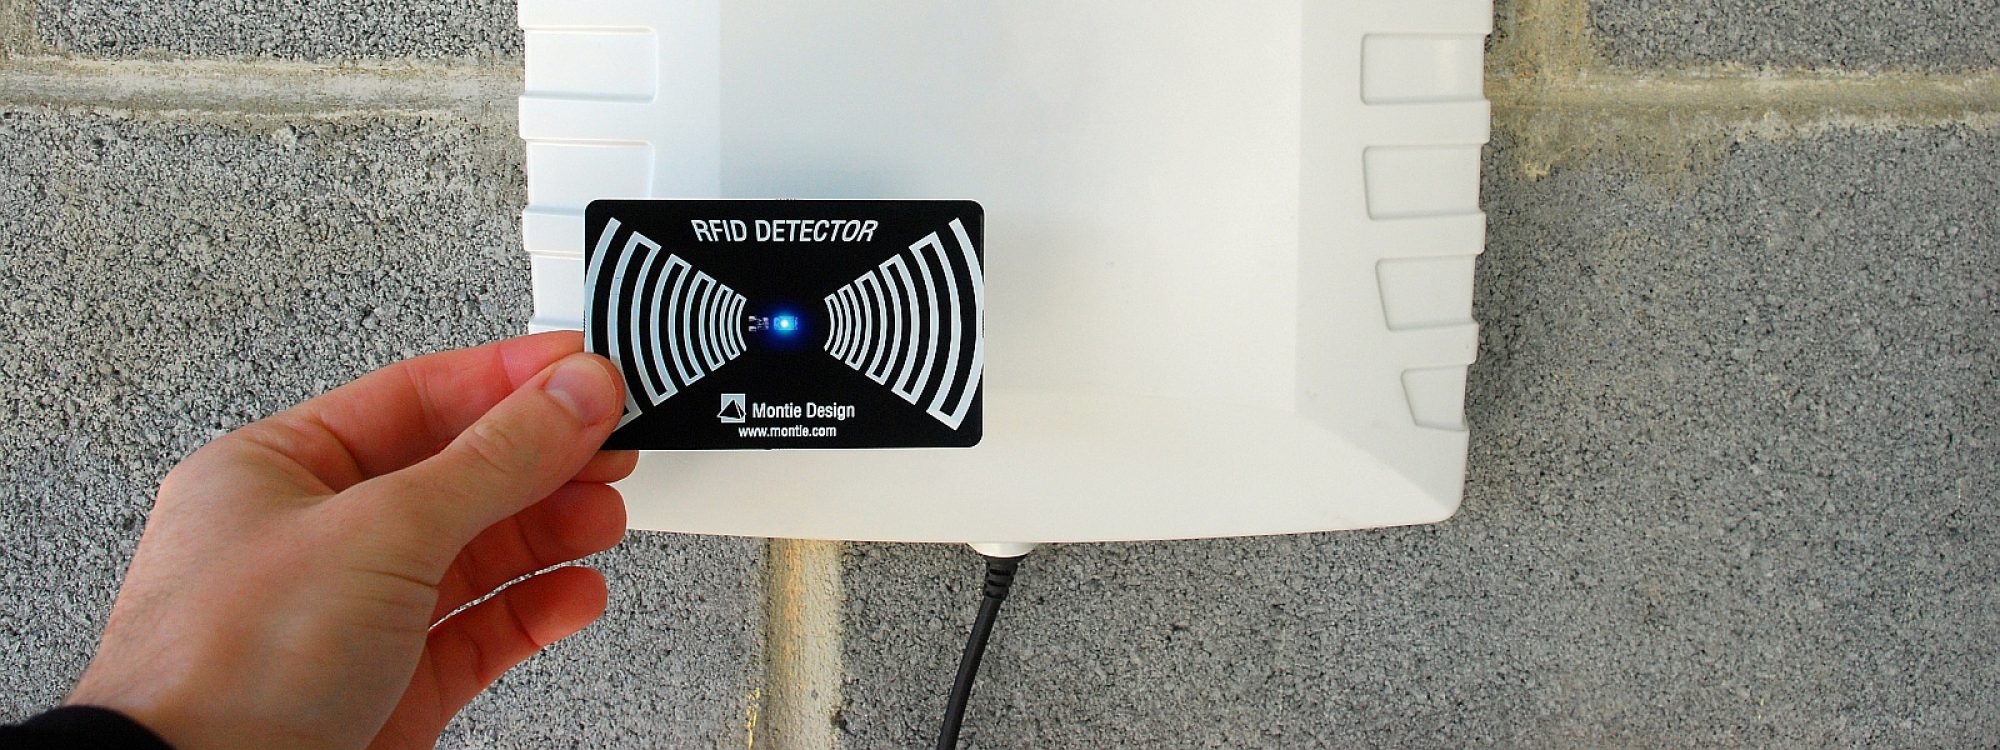
While awaiting the arrival of the side brackets for the wrist support, I’ve been working on a little bit of everything.
Amongst other things, I’ve spent a couple of hours with instructions for the RFID detectors. Here are some examples of the graphics:


We’ve got some cool projects that are in an early phase, of which you will see a lot later on. Today, for example, Richard and I spent some time making mock-ups of ball dispensers for the slingshots.

Got some pretty awesome stuff going on there, and there will definitely be an update on that within the near future. Stay tuned!
/Robin Evaldsson

Hey Guys! I’m the last of the summer interns to introduce myself! My Name is Brett Holmes. I’m an Ohio native (GO BUCKEYES!) enjoying my new home here in North Carolina. I’m a Drafting and Design student at ITT-Tech. I’ve been working on a single point rifle sling. This includes any rifle from a hunting rife to an AR. It makes long hikes and foot marches easier to bear by taking the weight off of the users arms and puts it on their backpack or vest.
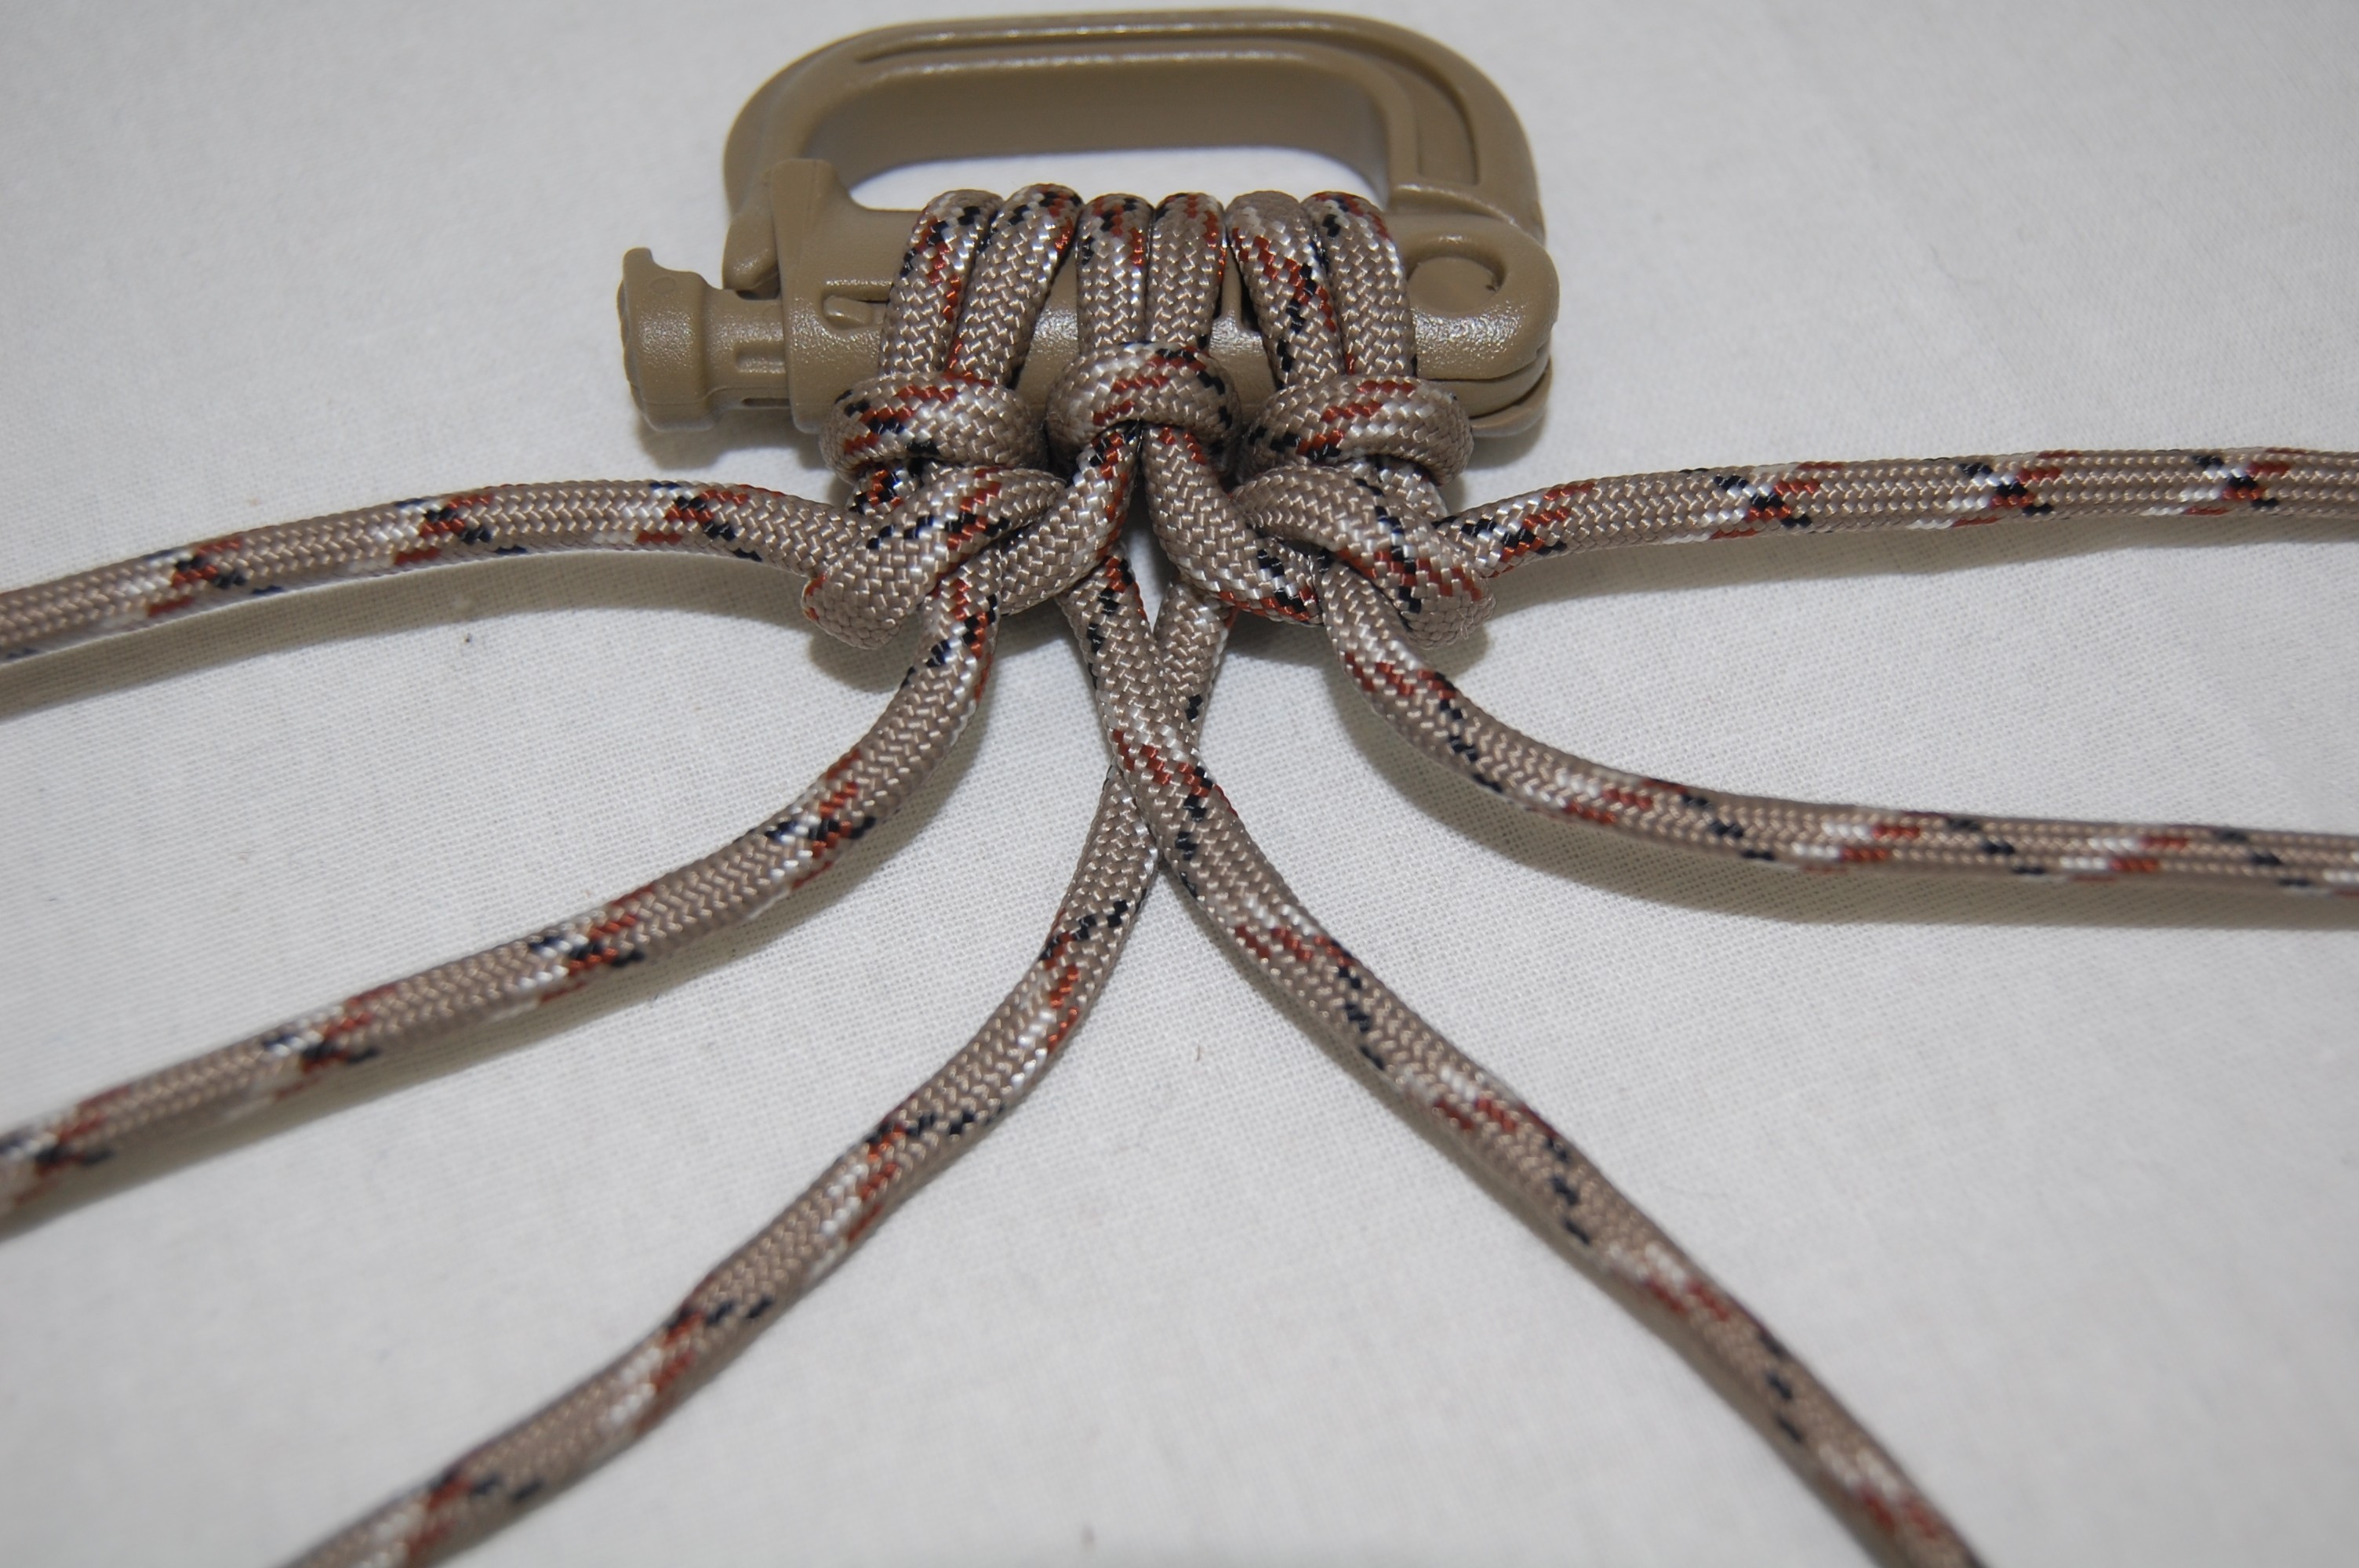
In this picture i was working on assembly instructions for the slings 5-50 cord section.
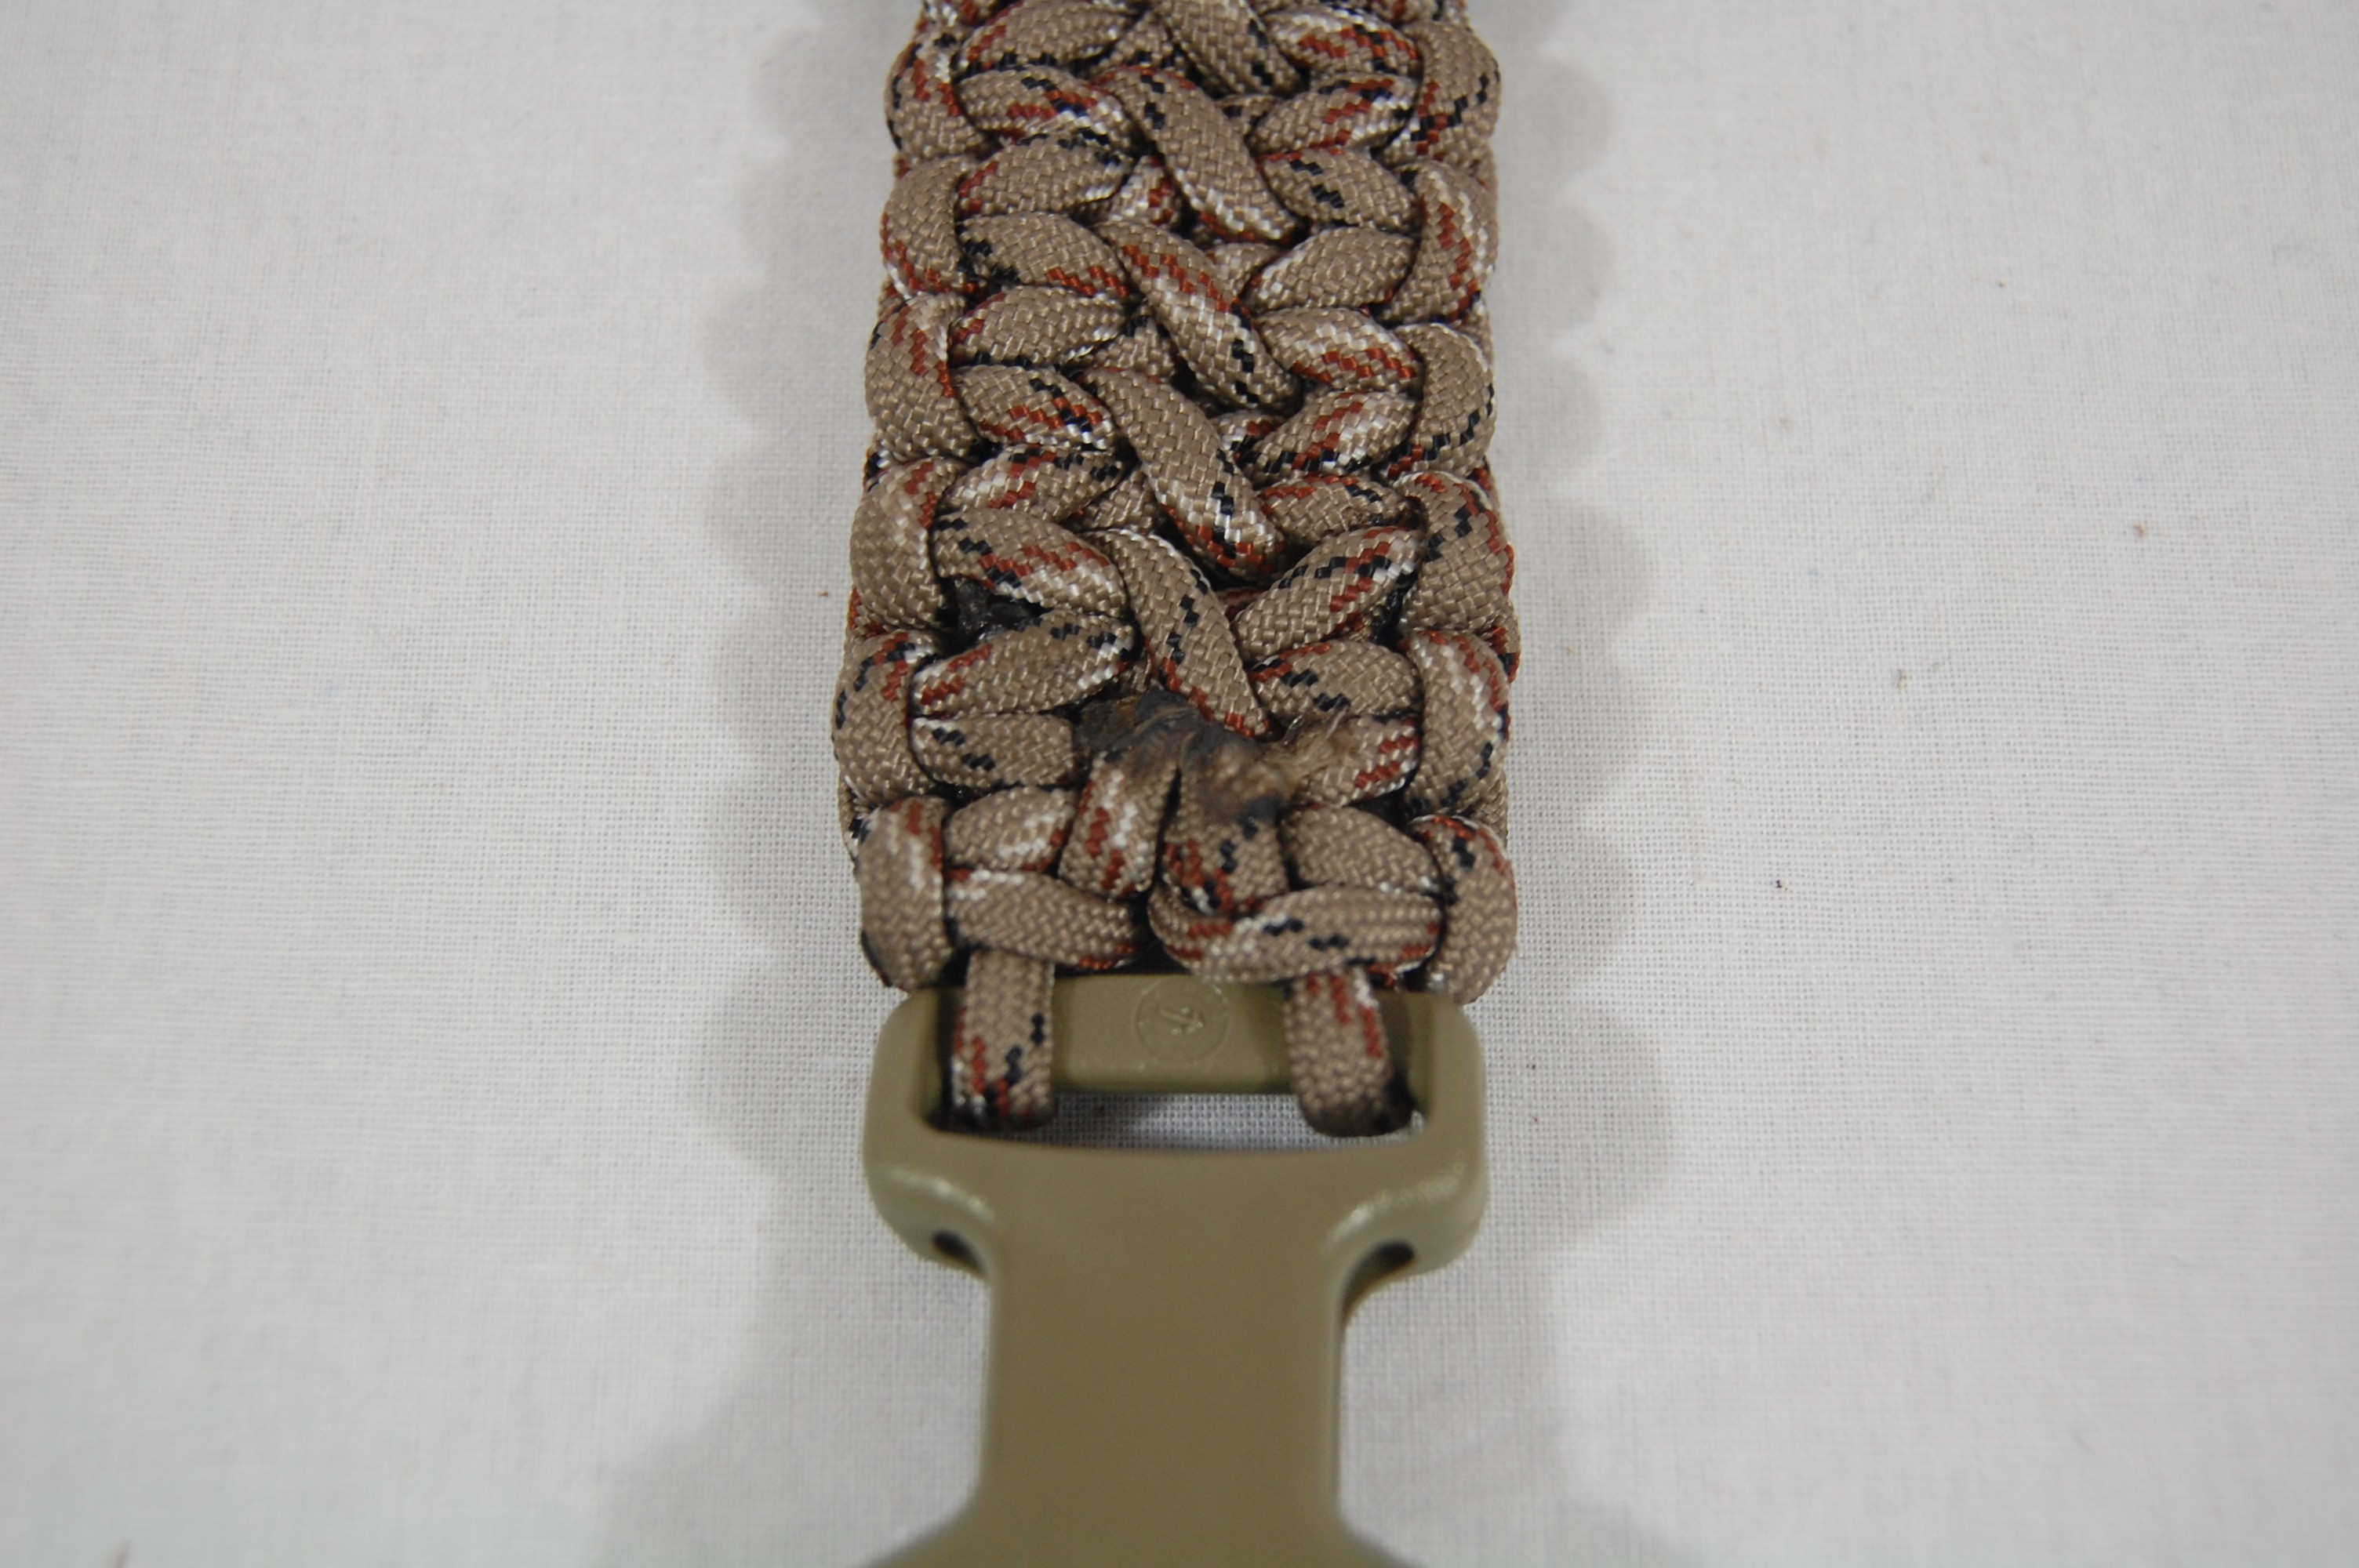
Here’s the finished 5-50 cord section of the sling. As you can imagine this was a fairly complicated pattern to learn however, I enjoyed the challenge! I’m looking forward to keeping you guys updated on the progress of the Sling!! Check in next week for more pictures and news on the great things happening here at Montie Design!!
Brett Holmes
I’m Daniel Lecky, a 2012 graduate from NCSU College of Design, and I am an intern here at Montie Design. This project was an idea I had to add to the line of Montie Gear products. Introducing, the Survival Hatchet! It is a 10.6″ long Hatchet with a long para-chord wrapped handle with a knife, magnesium and flint for fire starting and a whet stone for sharpening the blade, all concealed in the hatchet’s sheath. Below are a series of sketches and images from conceptual to ideation to modeling stages.
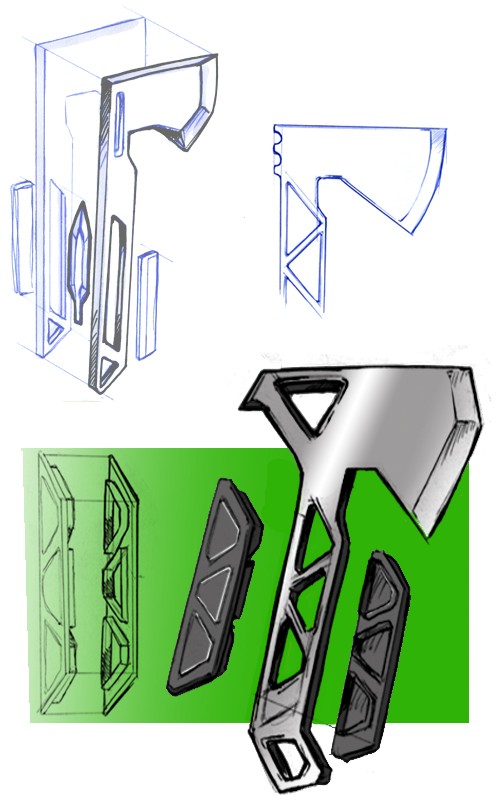 Here I thought of concealing a spear head along with fishing wire and matches within the handle but it would be too awkward to get to everything quickly and comfortably.
The blade is too large and there is a concern about stability with there being such a sharp angle right under the blade.

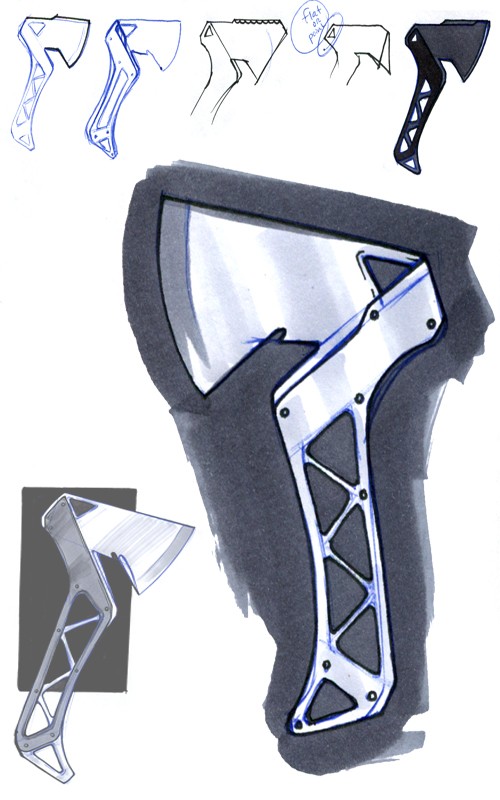
Solving the stability issue, this new version of the hatchet has a unique angle to the handle and a solid look.
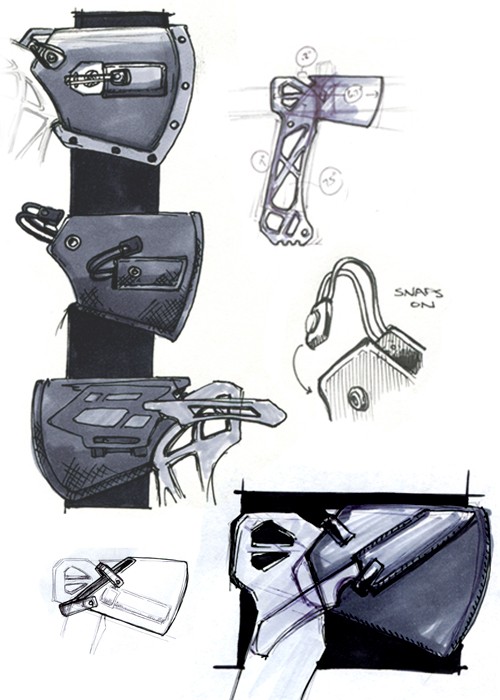
These are a series of Sheath sketches to determine how the knife and assorted survival stones can be packaged together.
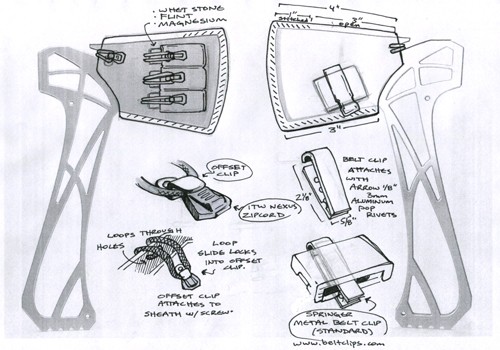
Here is a print out of the 3D model with sheath sketches. The sheath is drawn on top of the drawing with specific components labeled and sent off to a leather shop to construct the case. However, the hatchet was too heavy and bulky. Redesign!
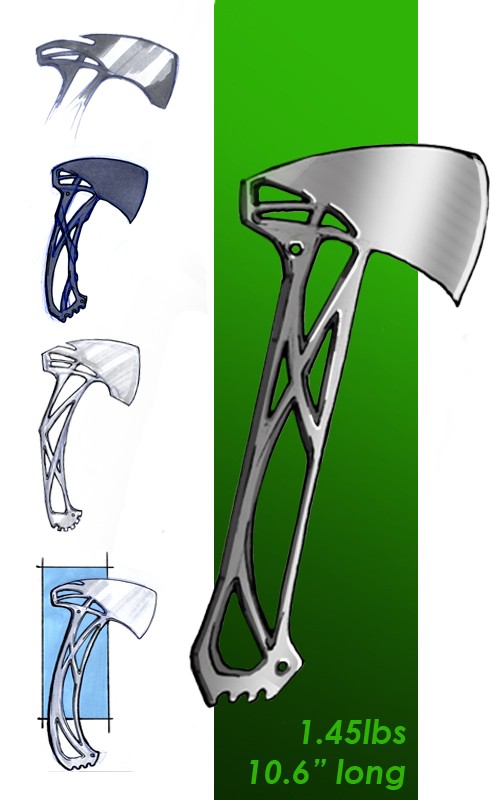
The Survival Hatchet! It is much slimmer, weighing 1.45lbs as opposed to the previous 2.4lbs, yet still very solid and structurally sound. There are spaces provided for a Carabiner clip or rope to loop through to carry the hatchet. There are also small holes for the paracord to tie through.
At Montie Design, we believe it is important to test, test, and retest a design. This process allows us to identify, and modify potential issues in a way unlike traditional sketching or modeling. Michael Laut of Laut Design said it best, “There’s just no simple way to tell what collides, pinches, abrades, stretches, etc without actually feeling what it’s like to use the product yourself.”
We couldn’t agree more. The evaluation stage plays a pivotal role in our ability to produce high quality products for our customers. Shown below is an example of a collaborative project with Laut Design. Here, the shooter’s posture, aim, and balance are paramount. Thus, we are testing a rifle setup on a flat surface to ensure that the preceding points are addressed.

We’d love to hear from you. What is the most important aspect of product design?
I know its not shooting or outdoor sports releated, but I wanted to share this with you. Sometimes design isn’t about high end studios and renderings. Sometimes good design is about letting the function dictate the form and then going from there. In this video, the custom car building describes how he does just that. As a designer and engineer, I can relate to what he is saying.
[vimeo]19874684[/vimeo]
Hope you enjoy the video as much as I did. The end result was one really great car!
Cheers,
Montie