Montie Gear Customer Appeciation Weekend at Troublesome Gap on 26-28 May

Join your fellow Montie Gear customers for a fun filled weekend camping at Troublesome Gap, NC.  The event is free, but an RSVP is required.  It all begins on May 26th.  This is a family friendly event, so all are welcome.  Please RSPV at http://troublesomegap.eventbrite.com

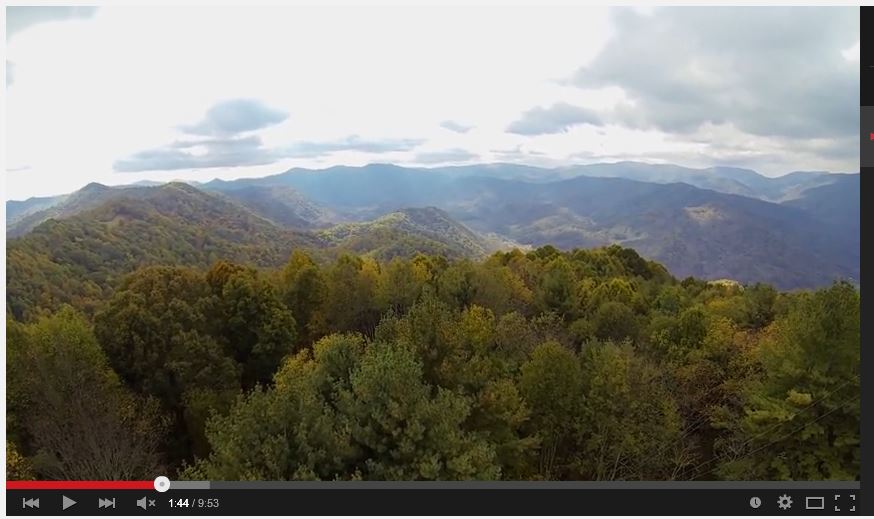
Check out the view from above the campsite.  Click on the image below to see the video.

Don’t forget to RSVP at troublesomegap.eventbrite.com

Write a Review – Get an Awesome Coupon!

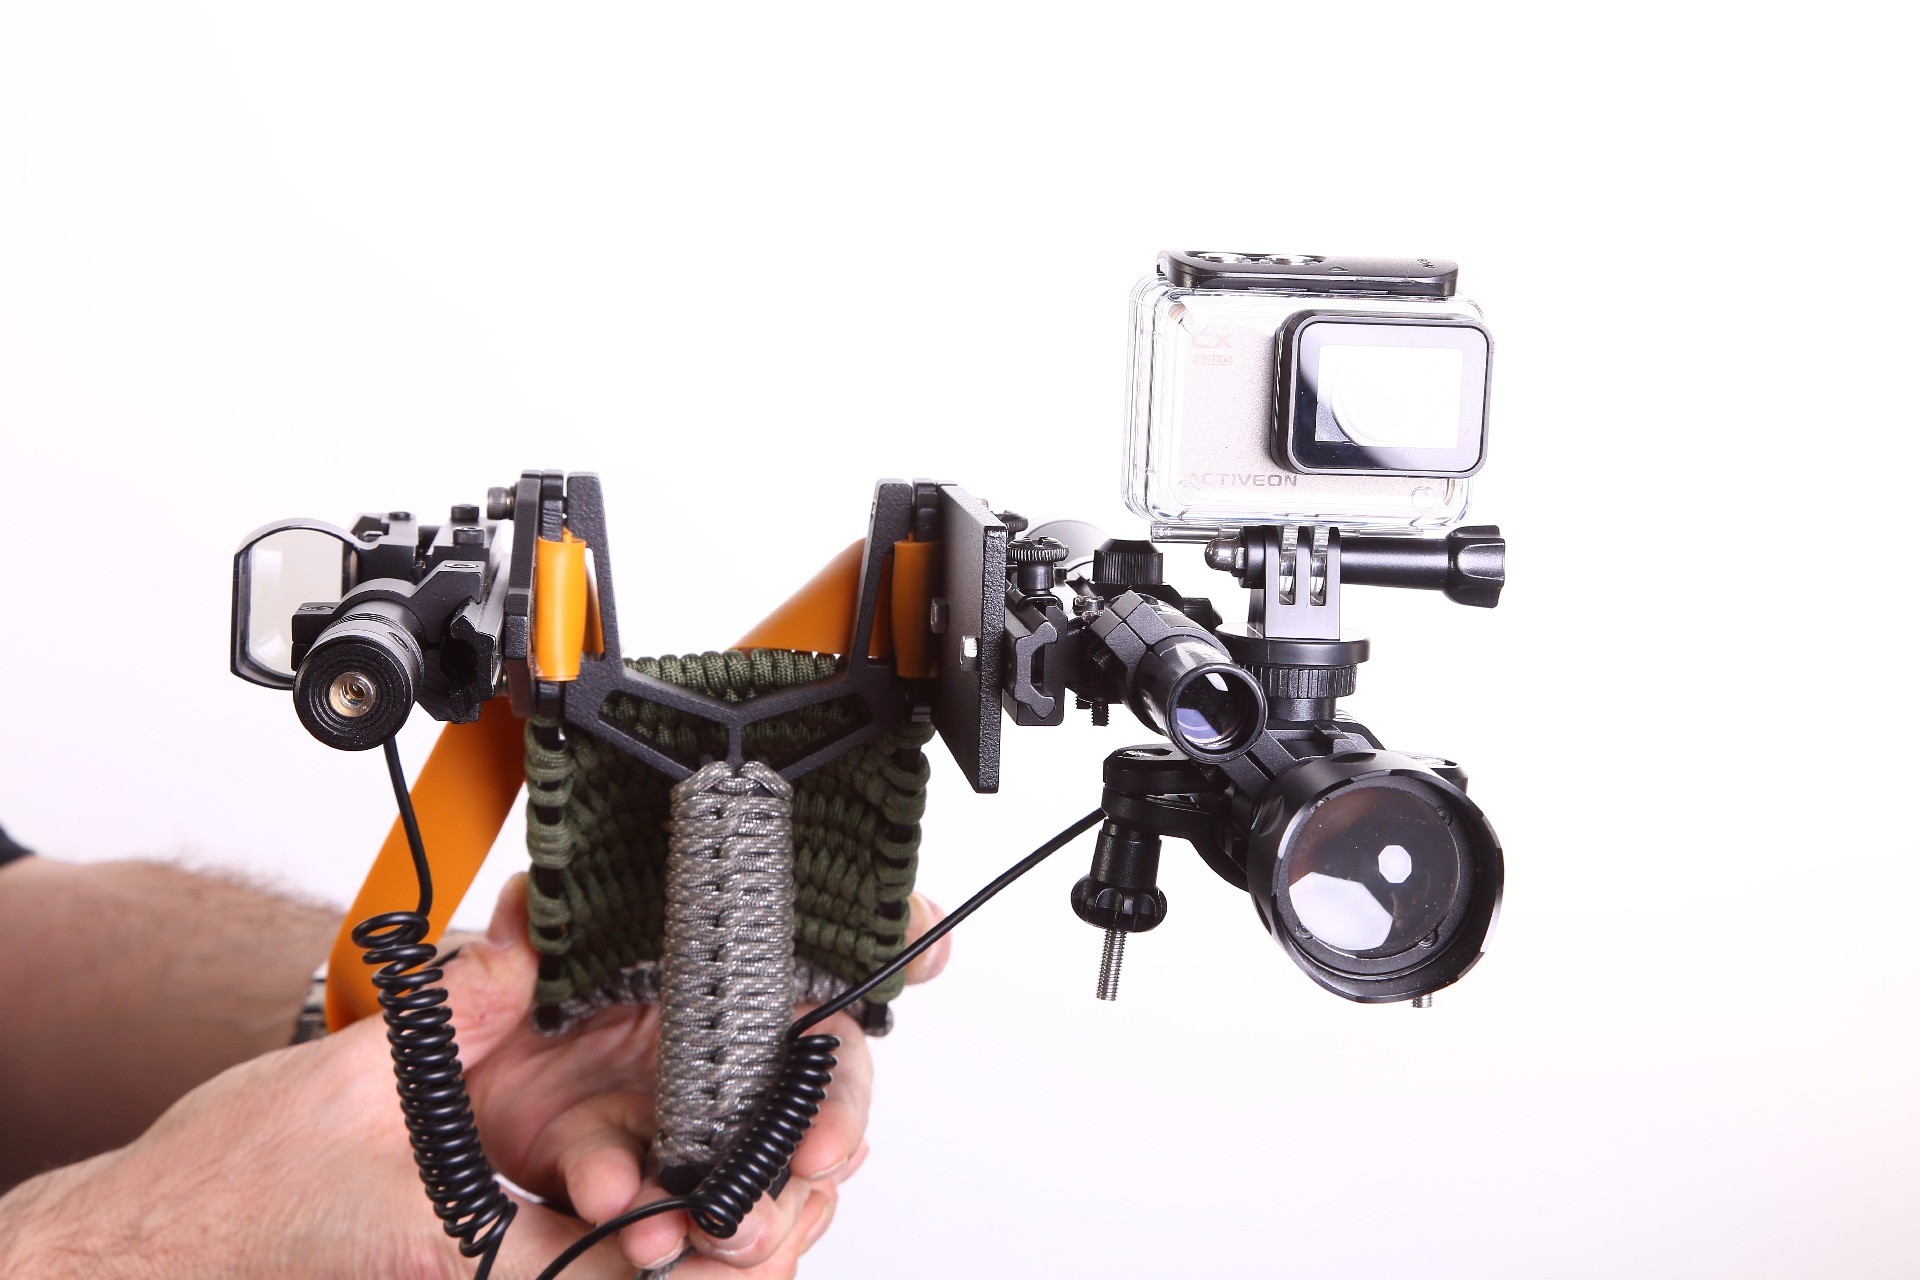
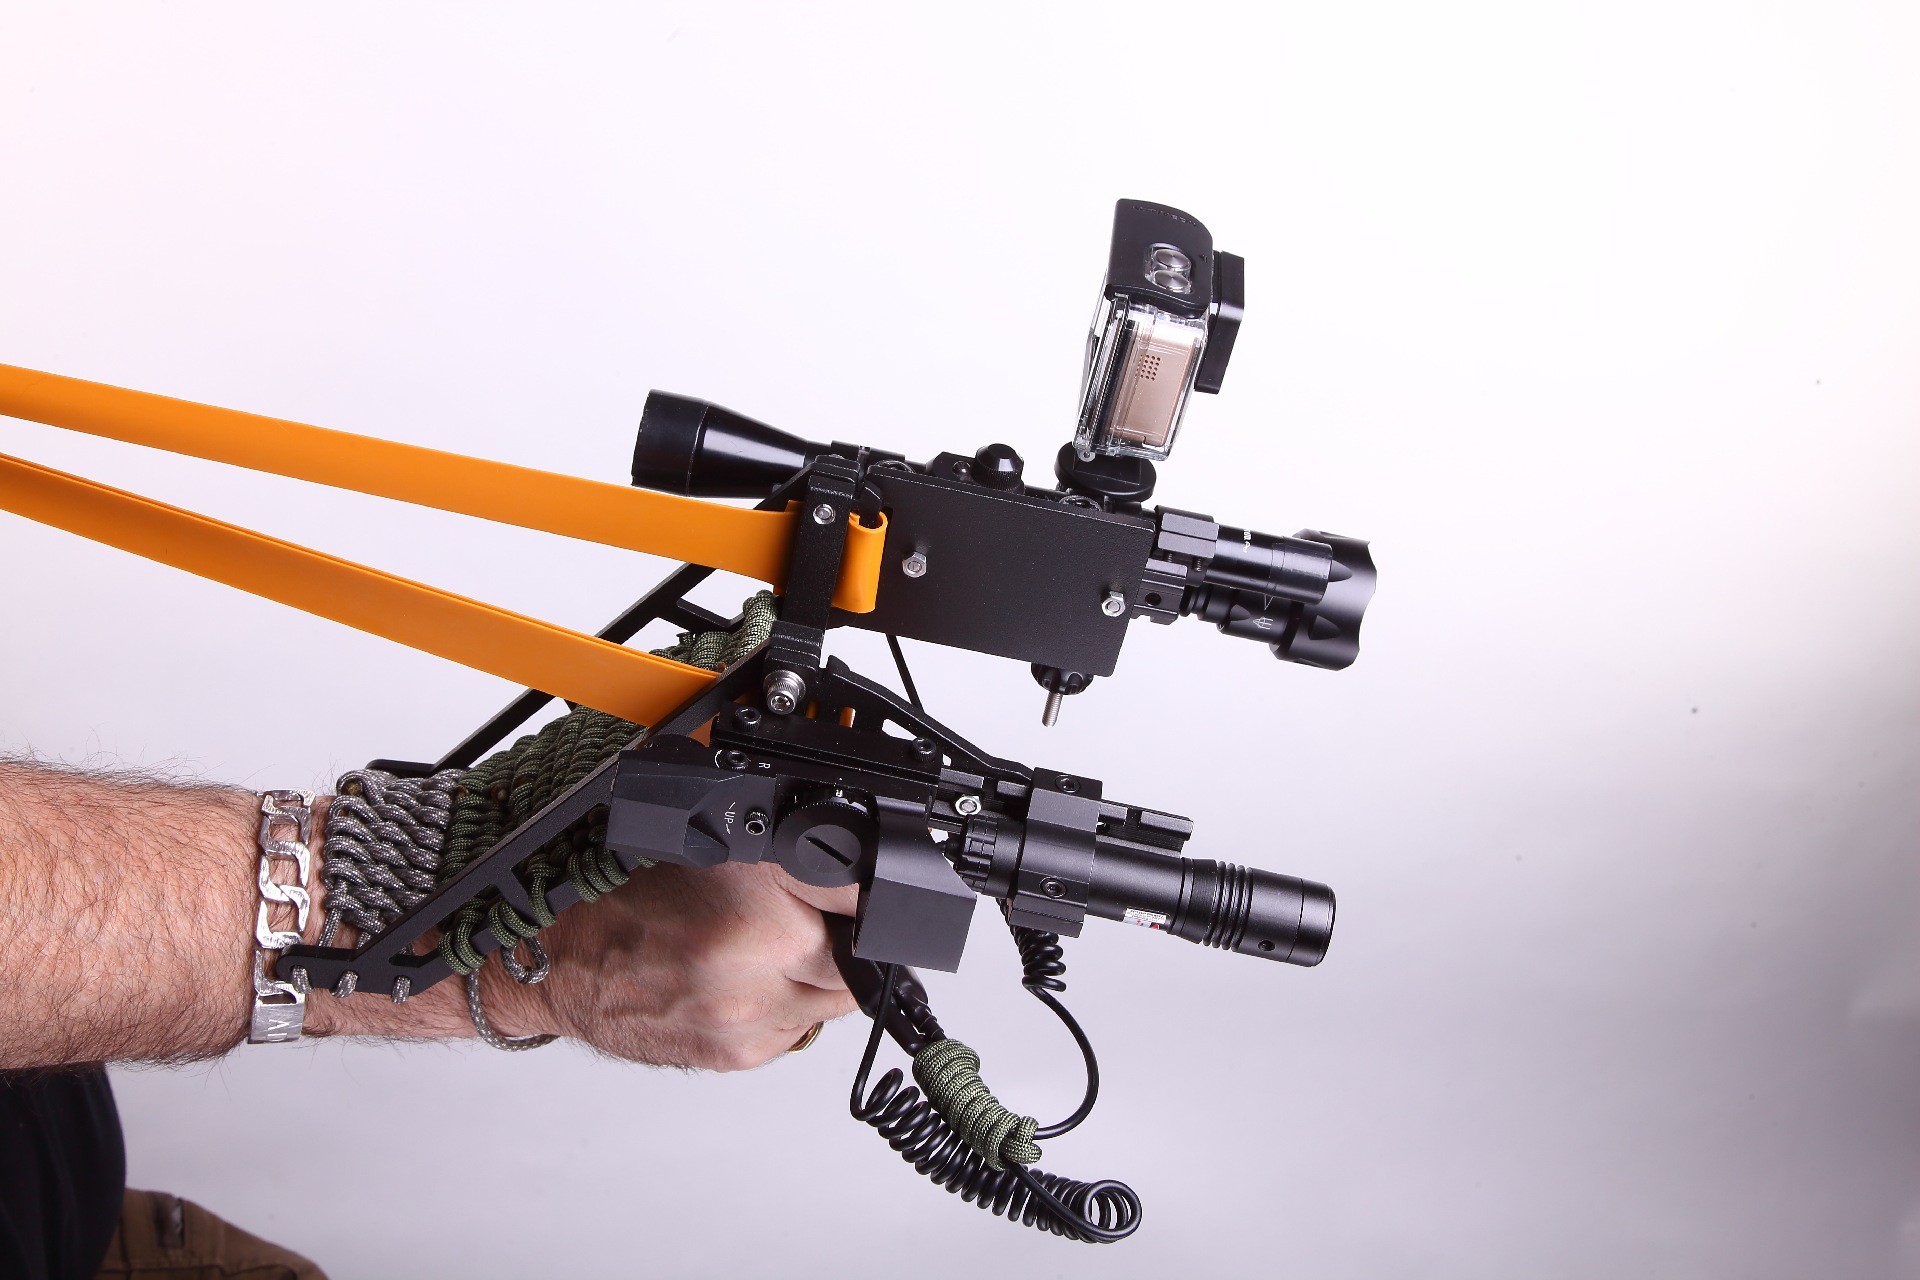
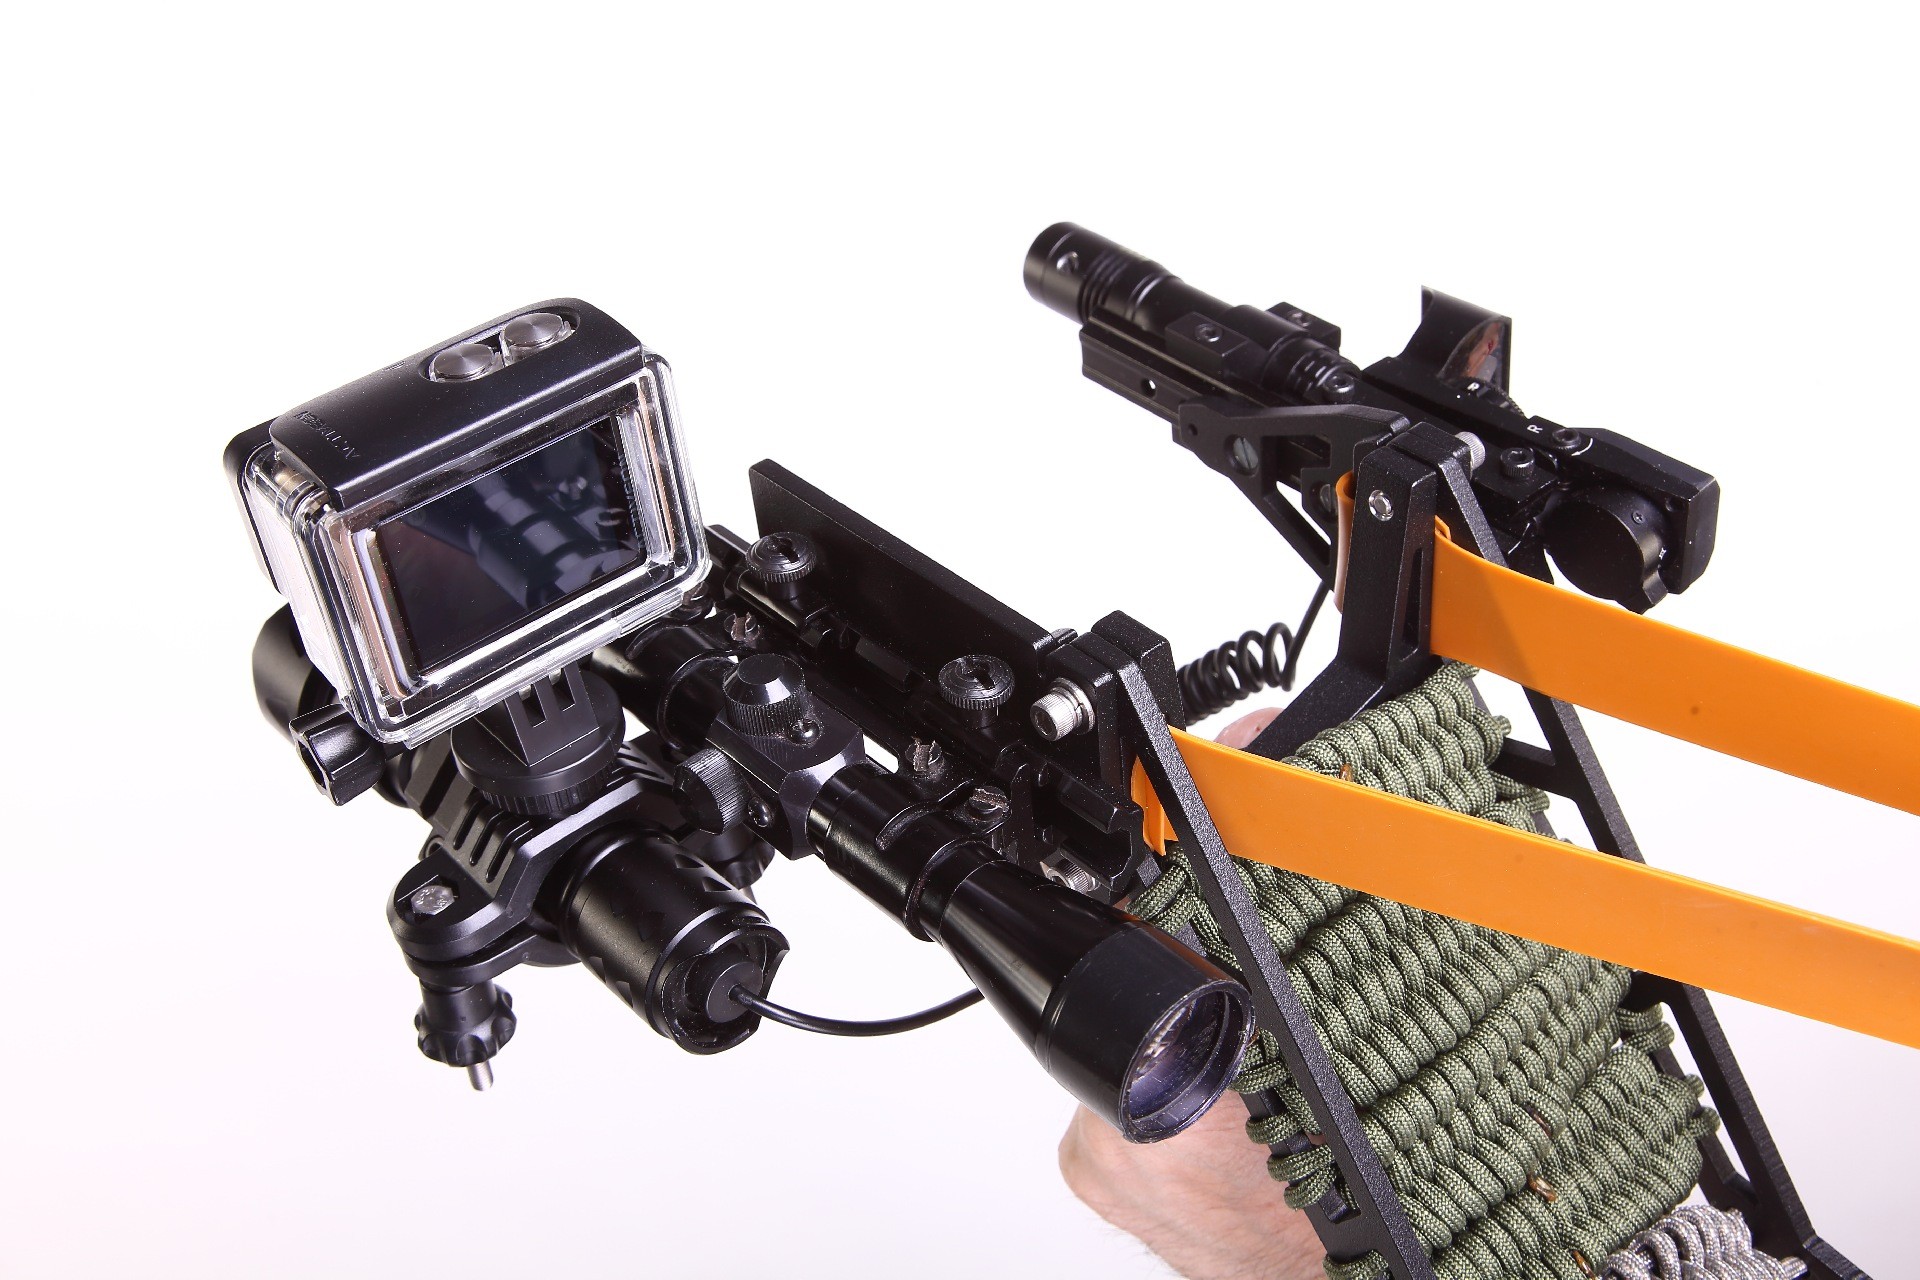
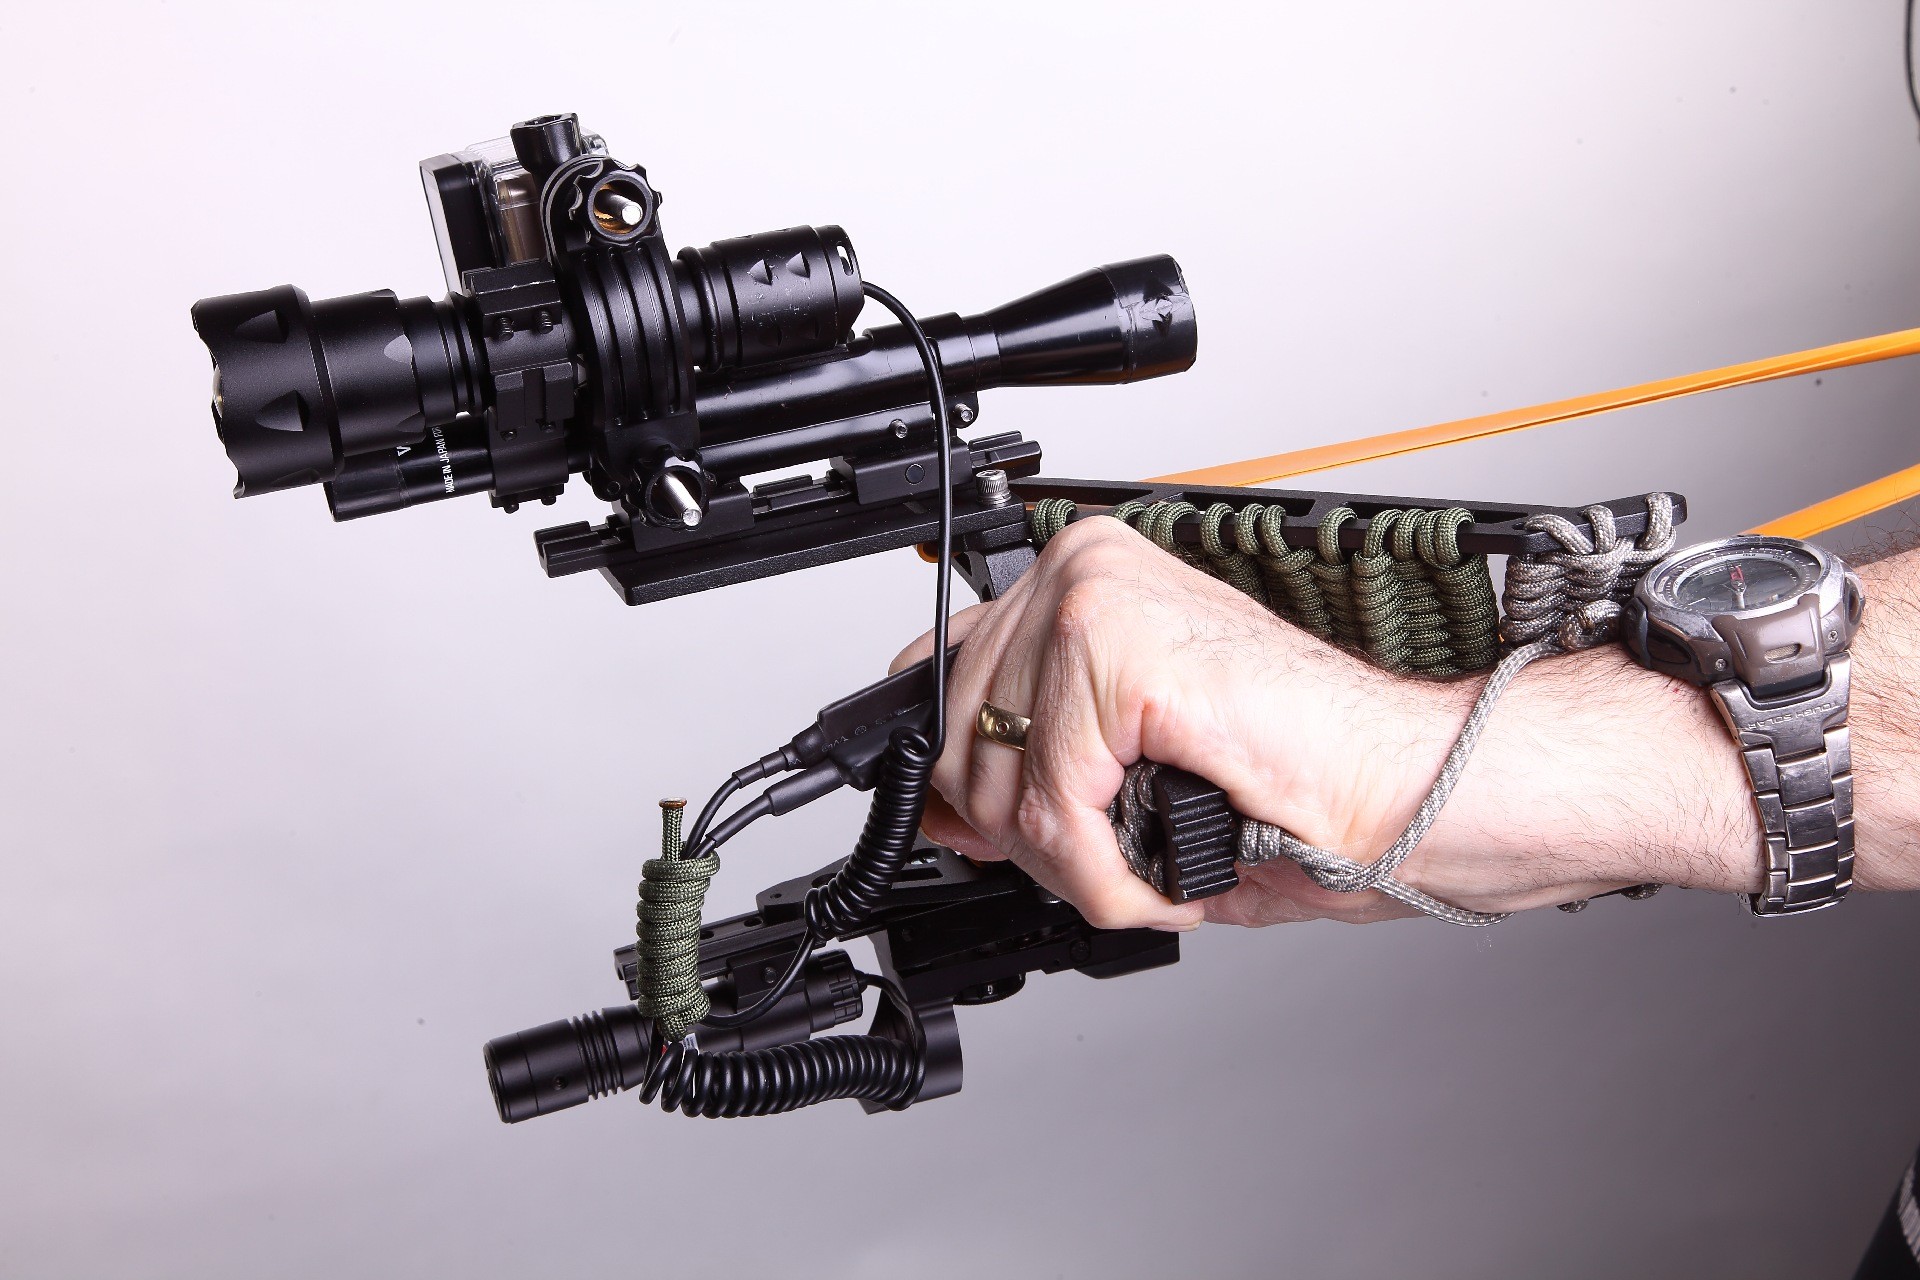
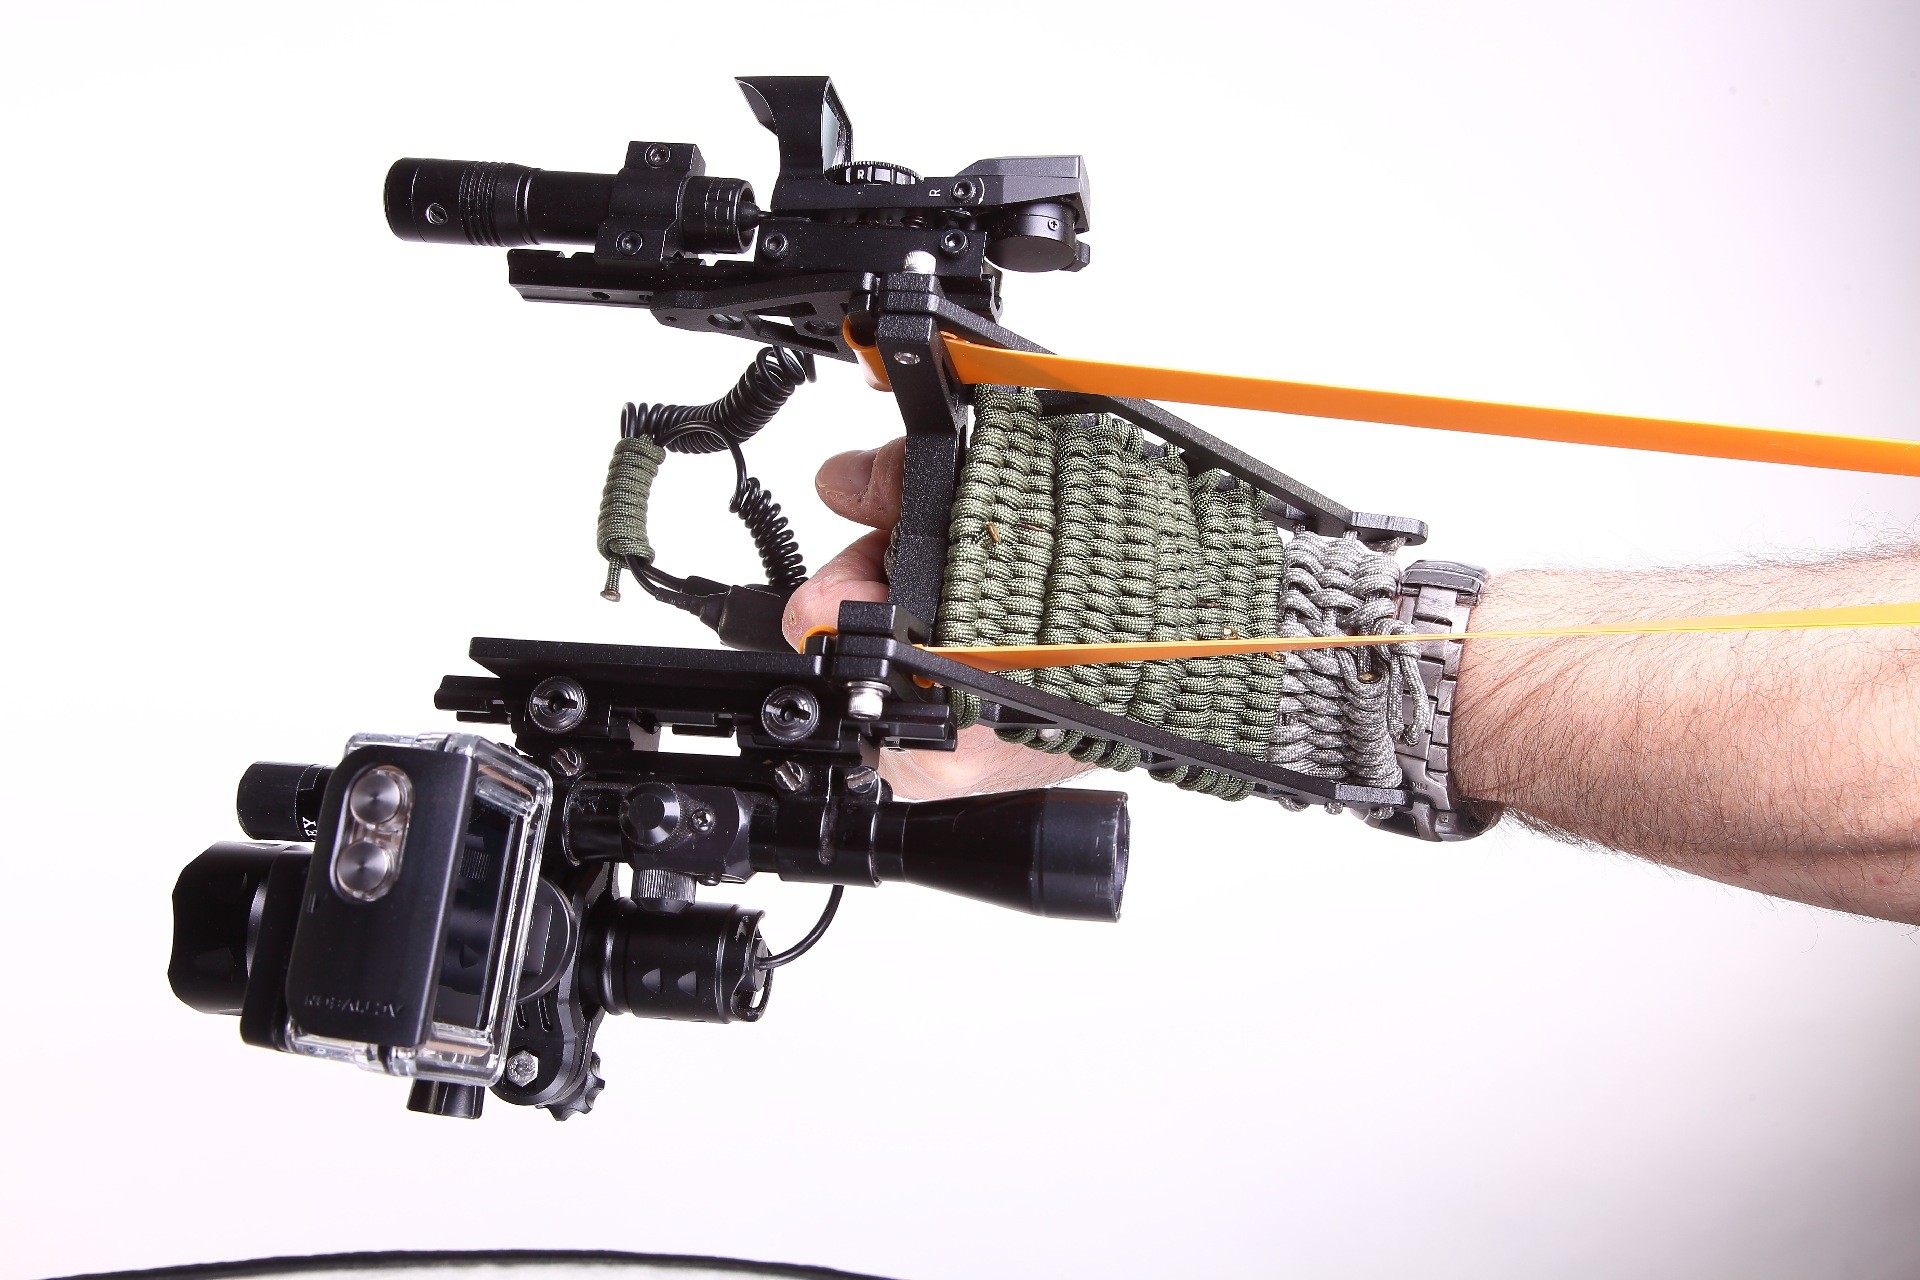
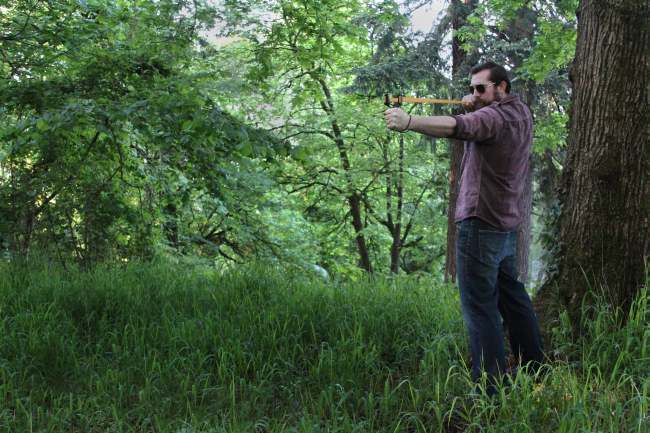
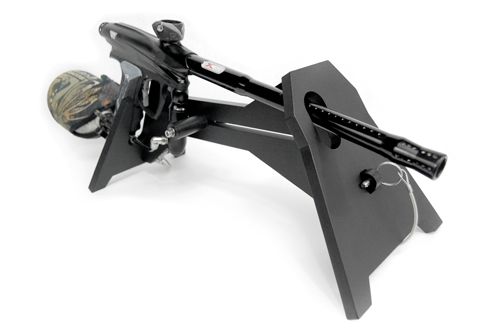
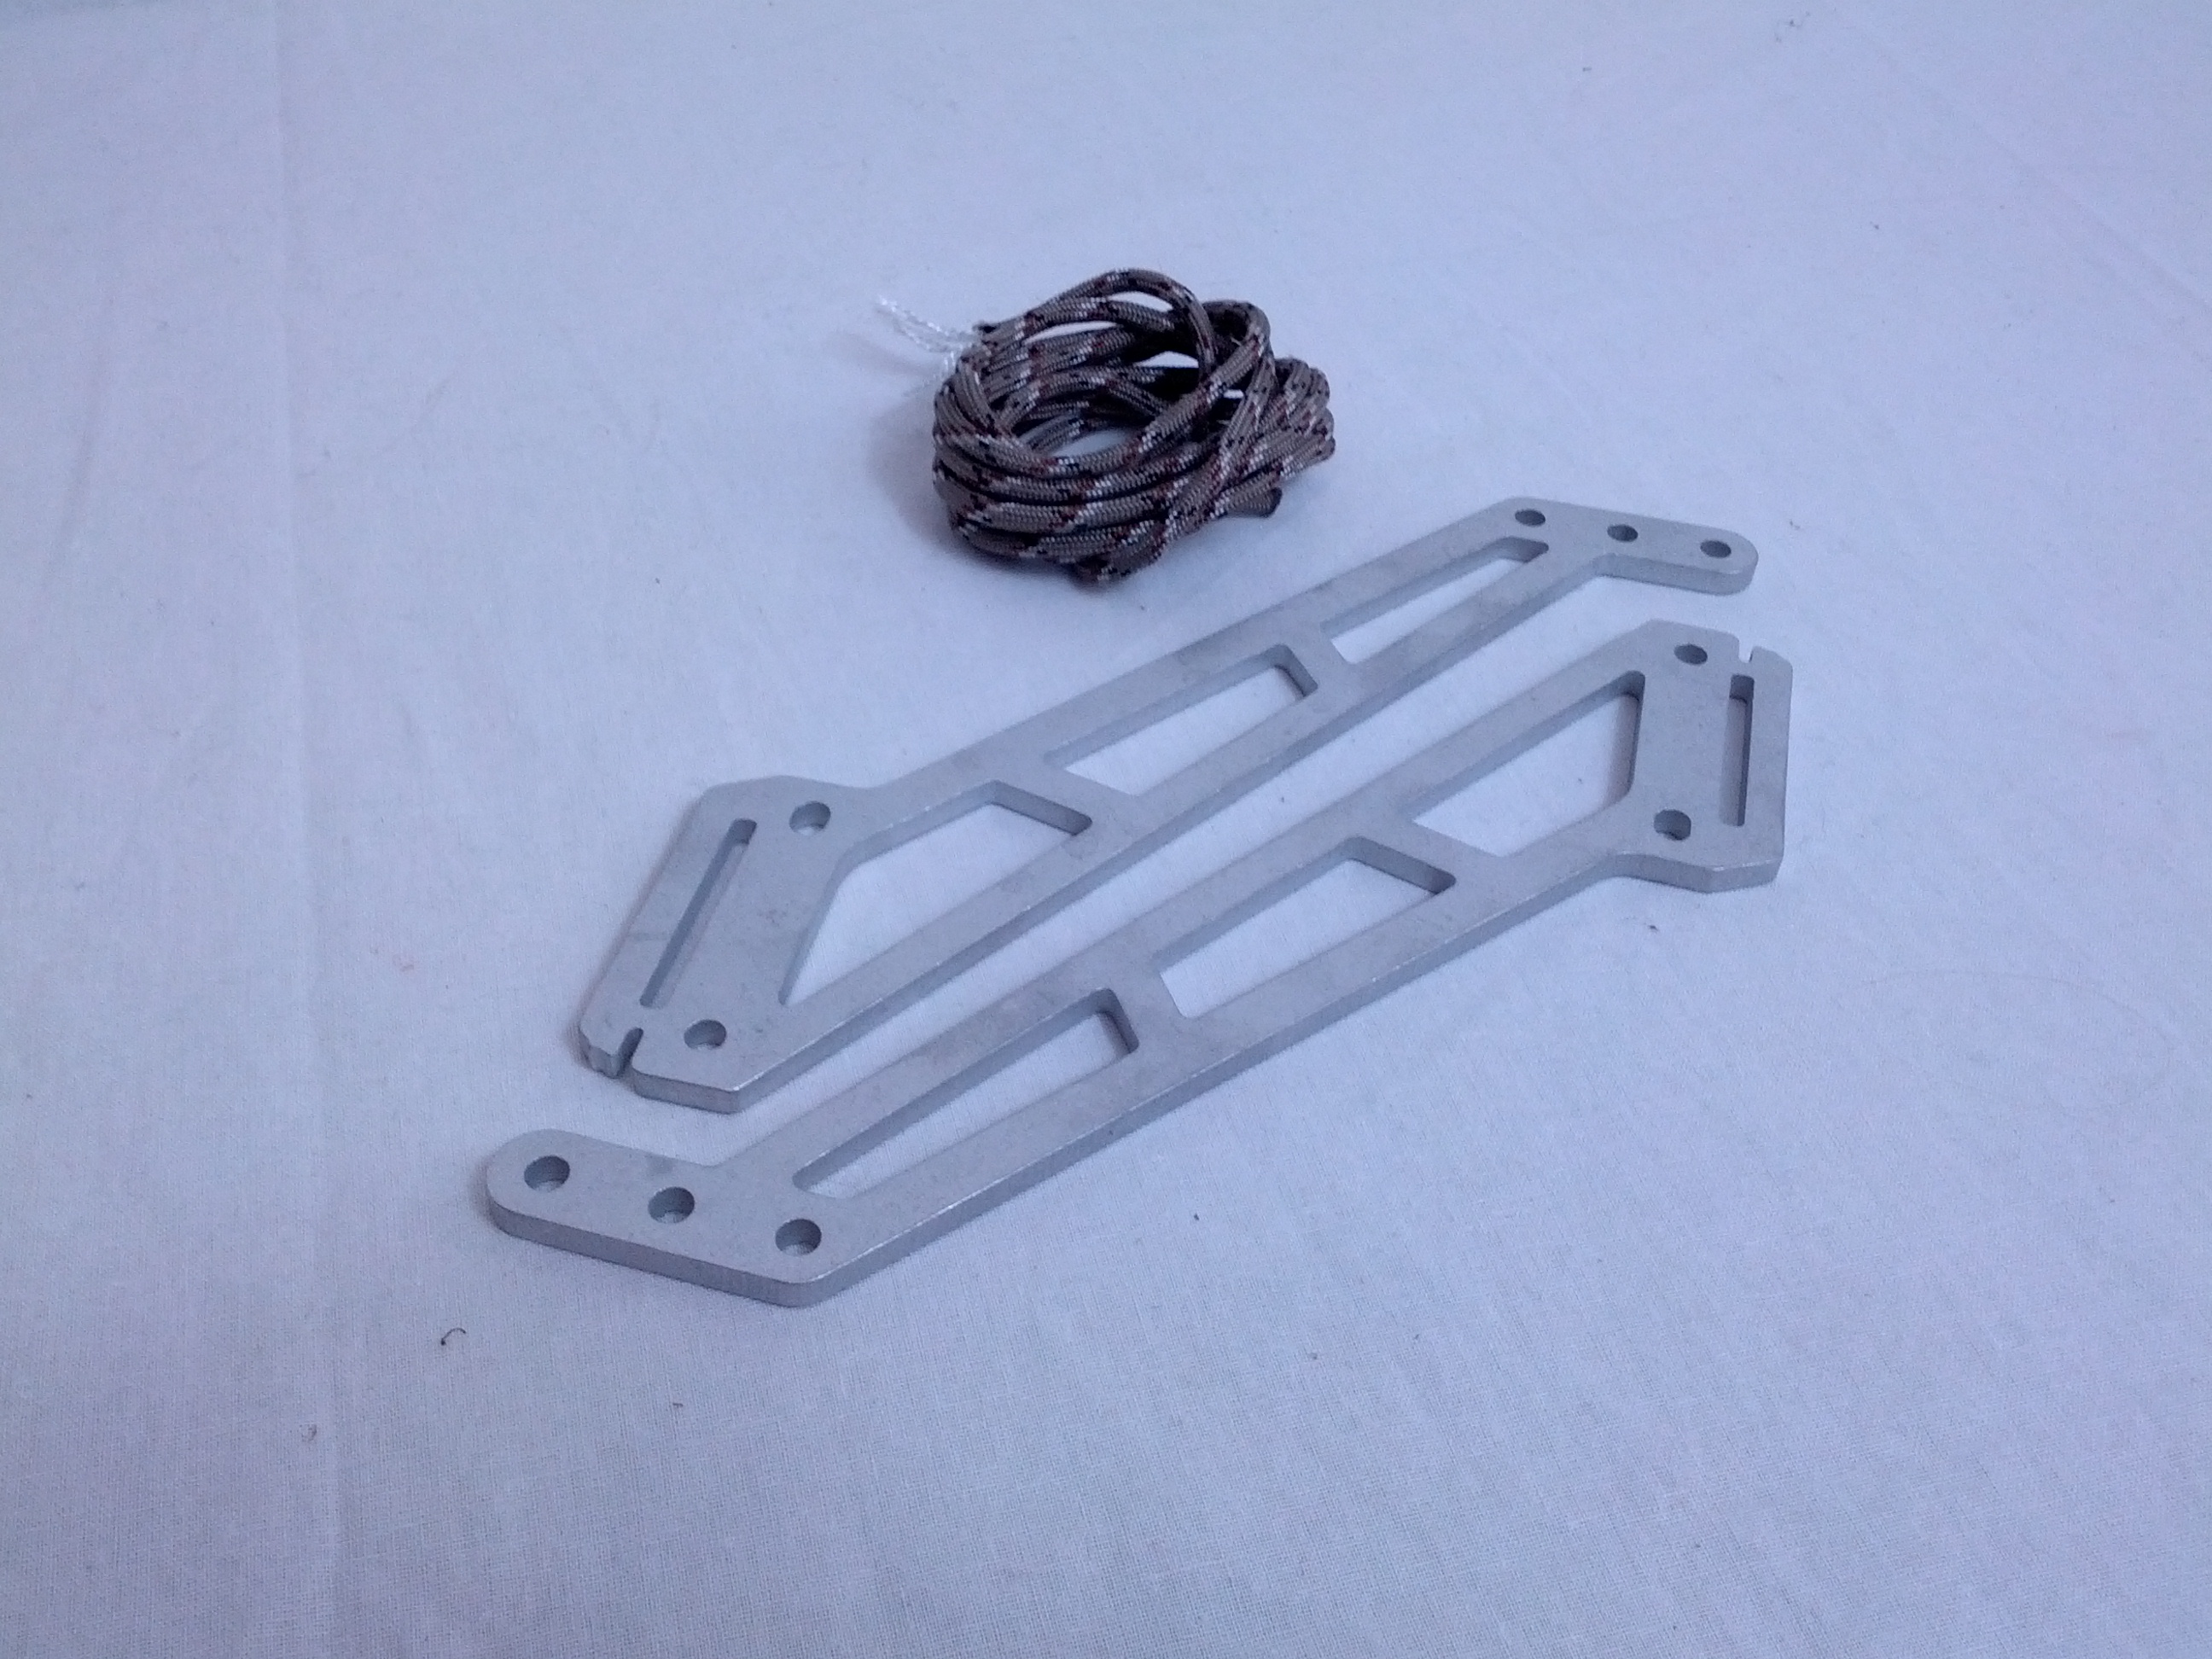
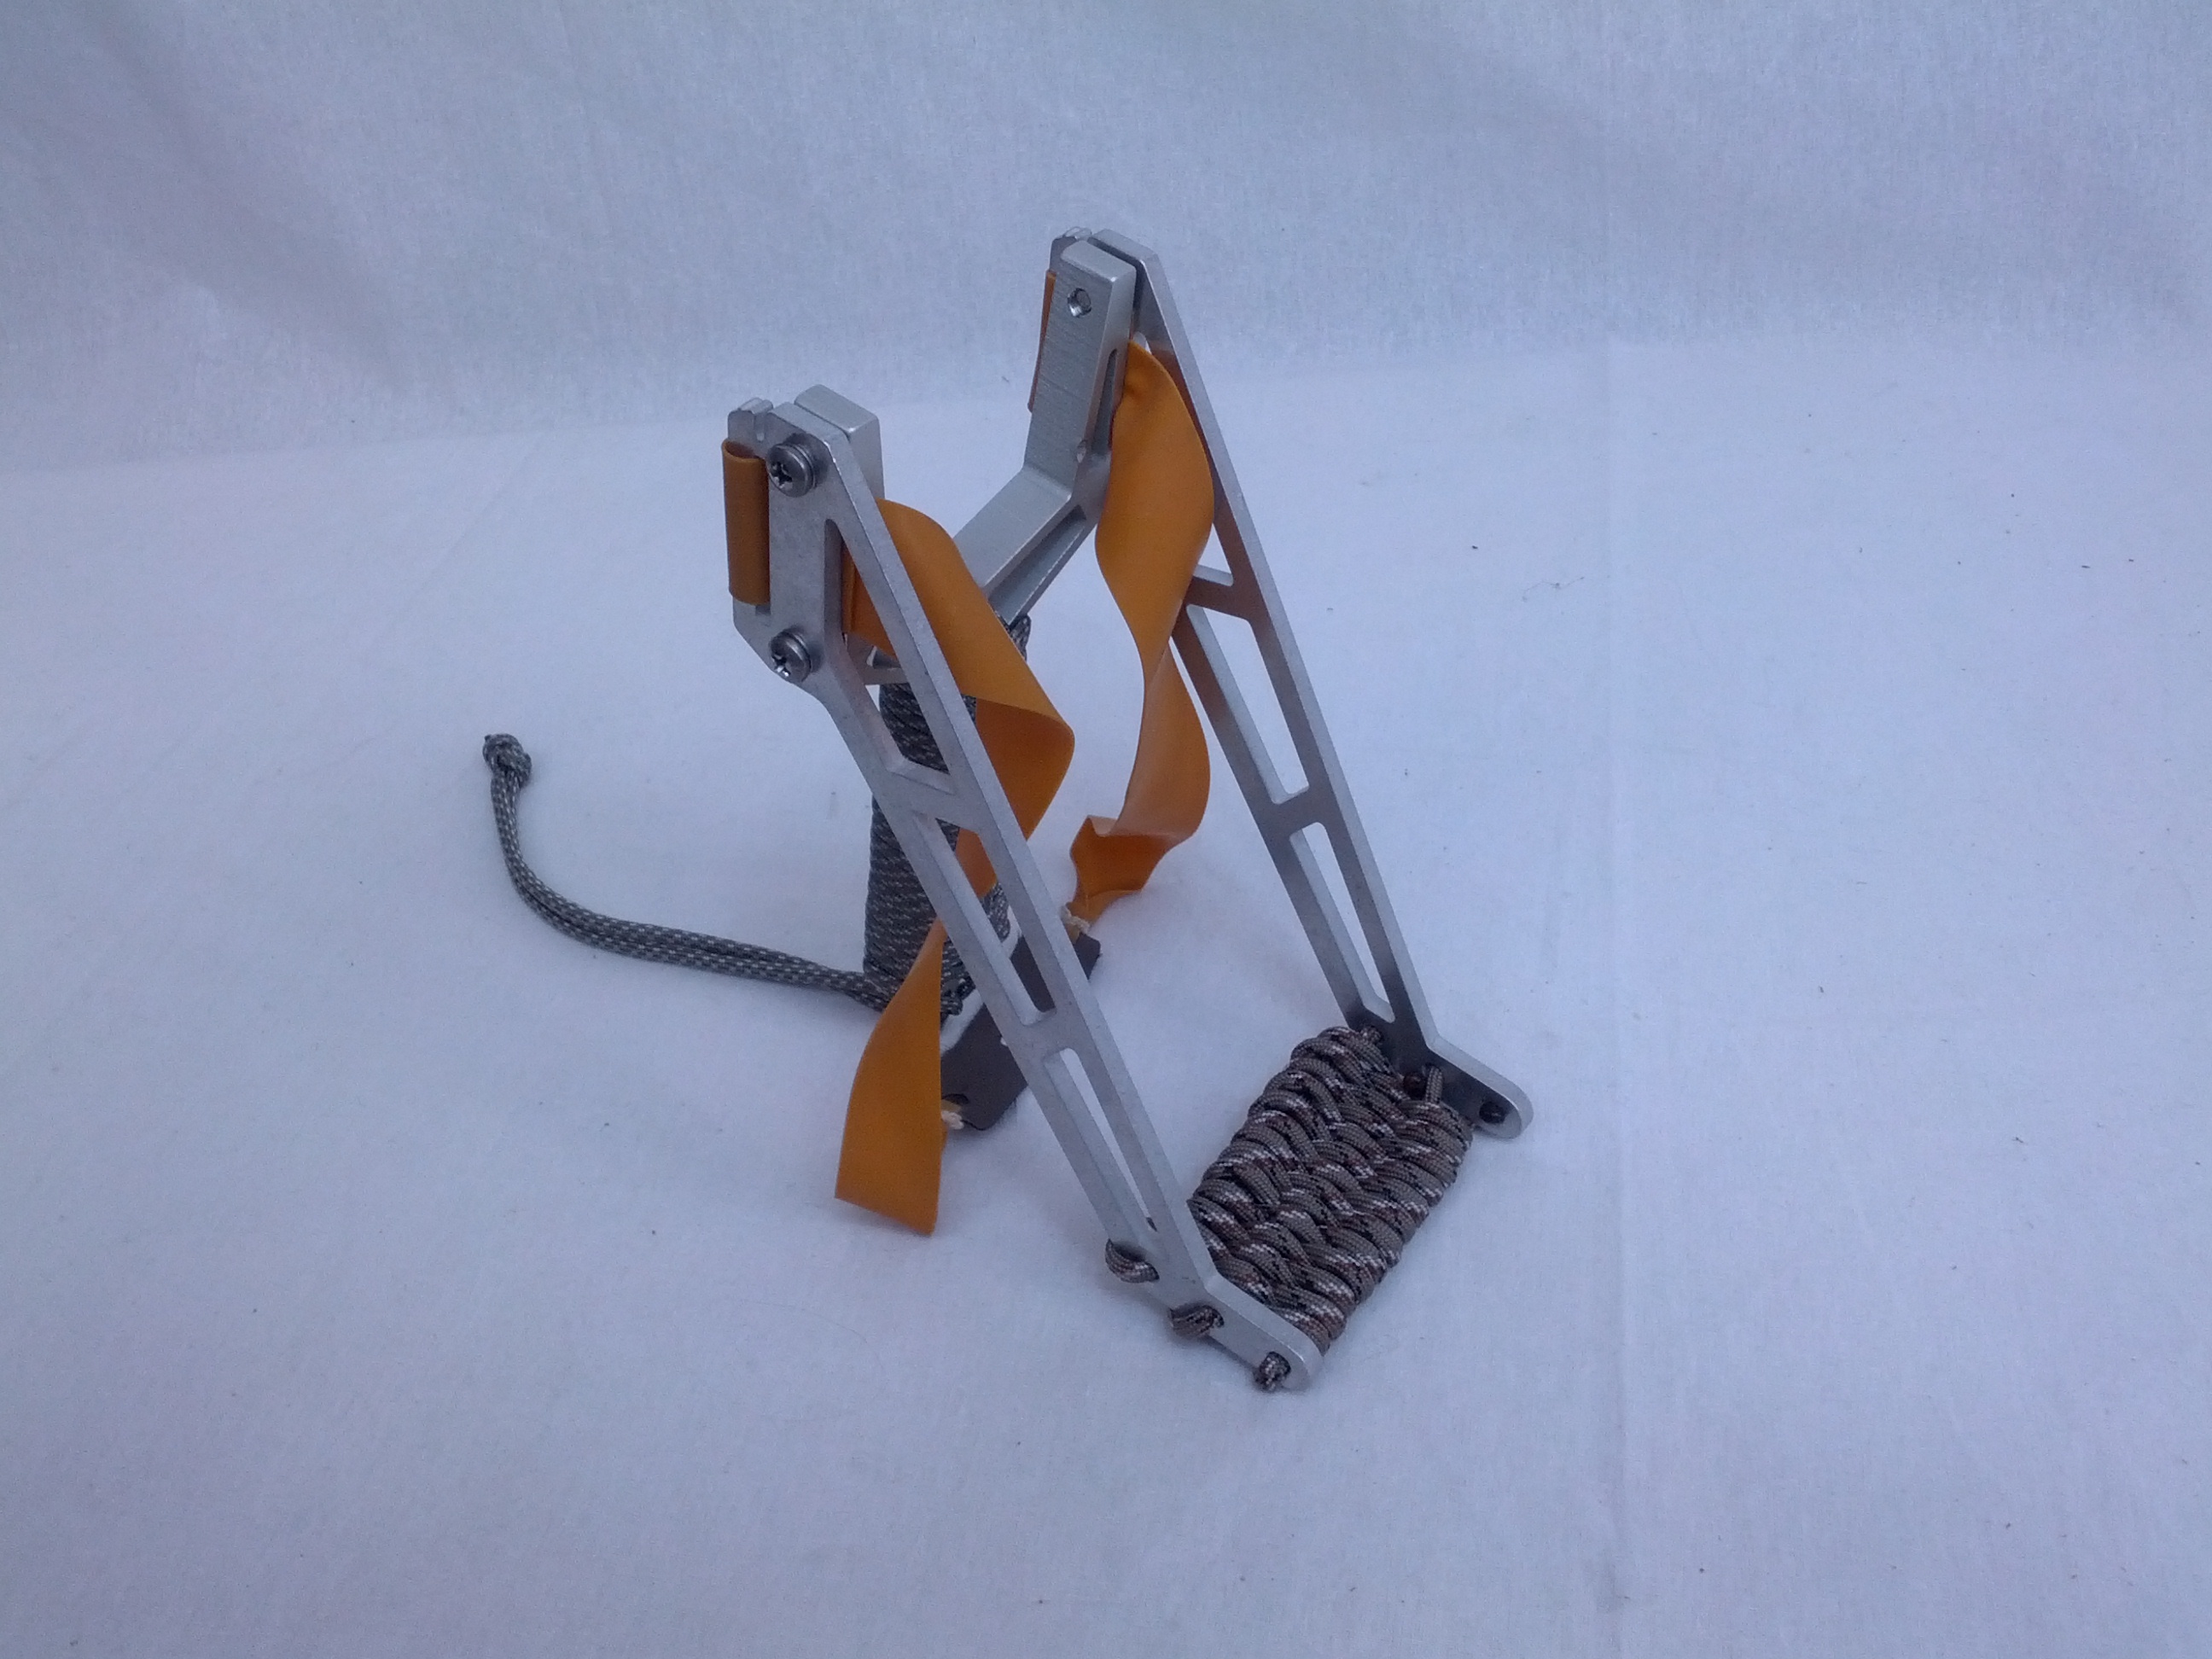
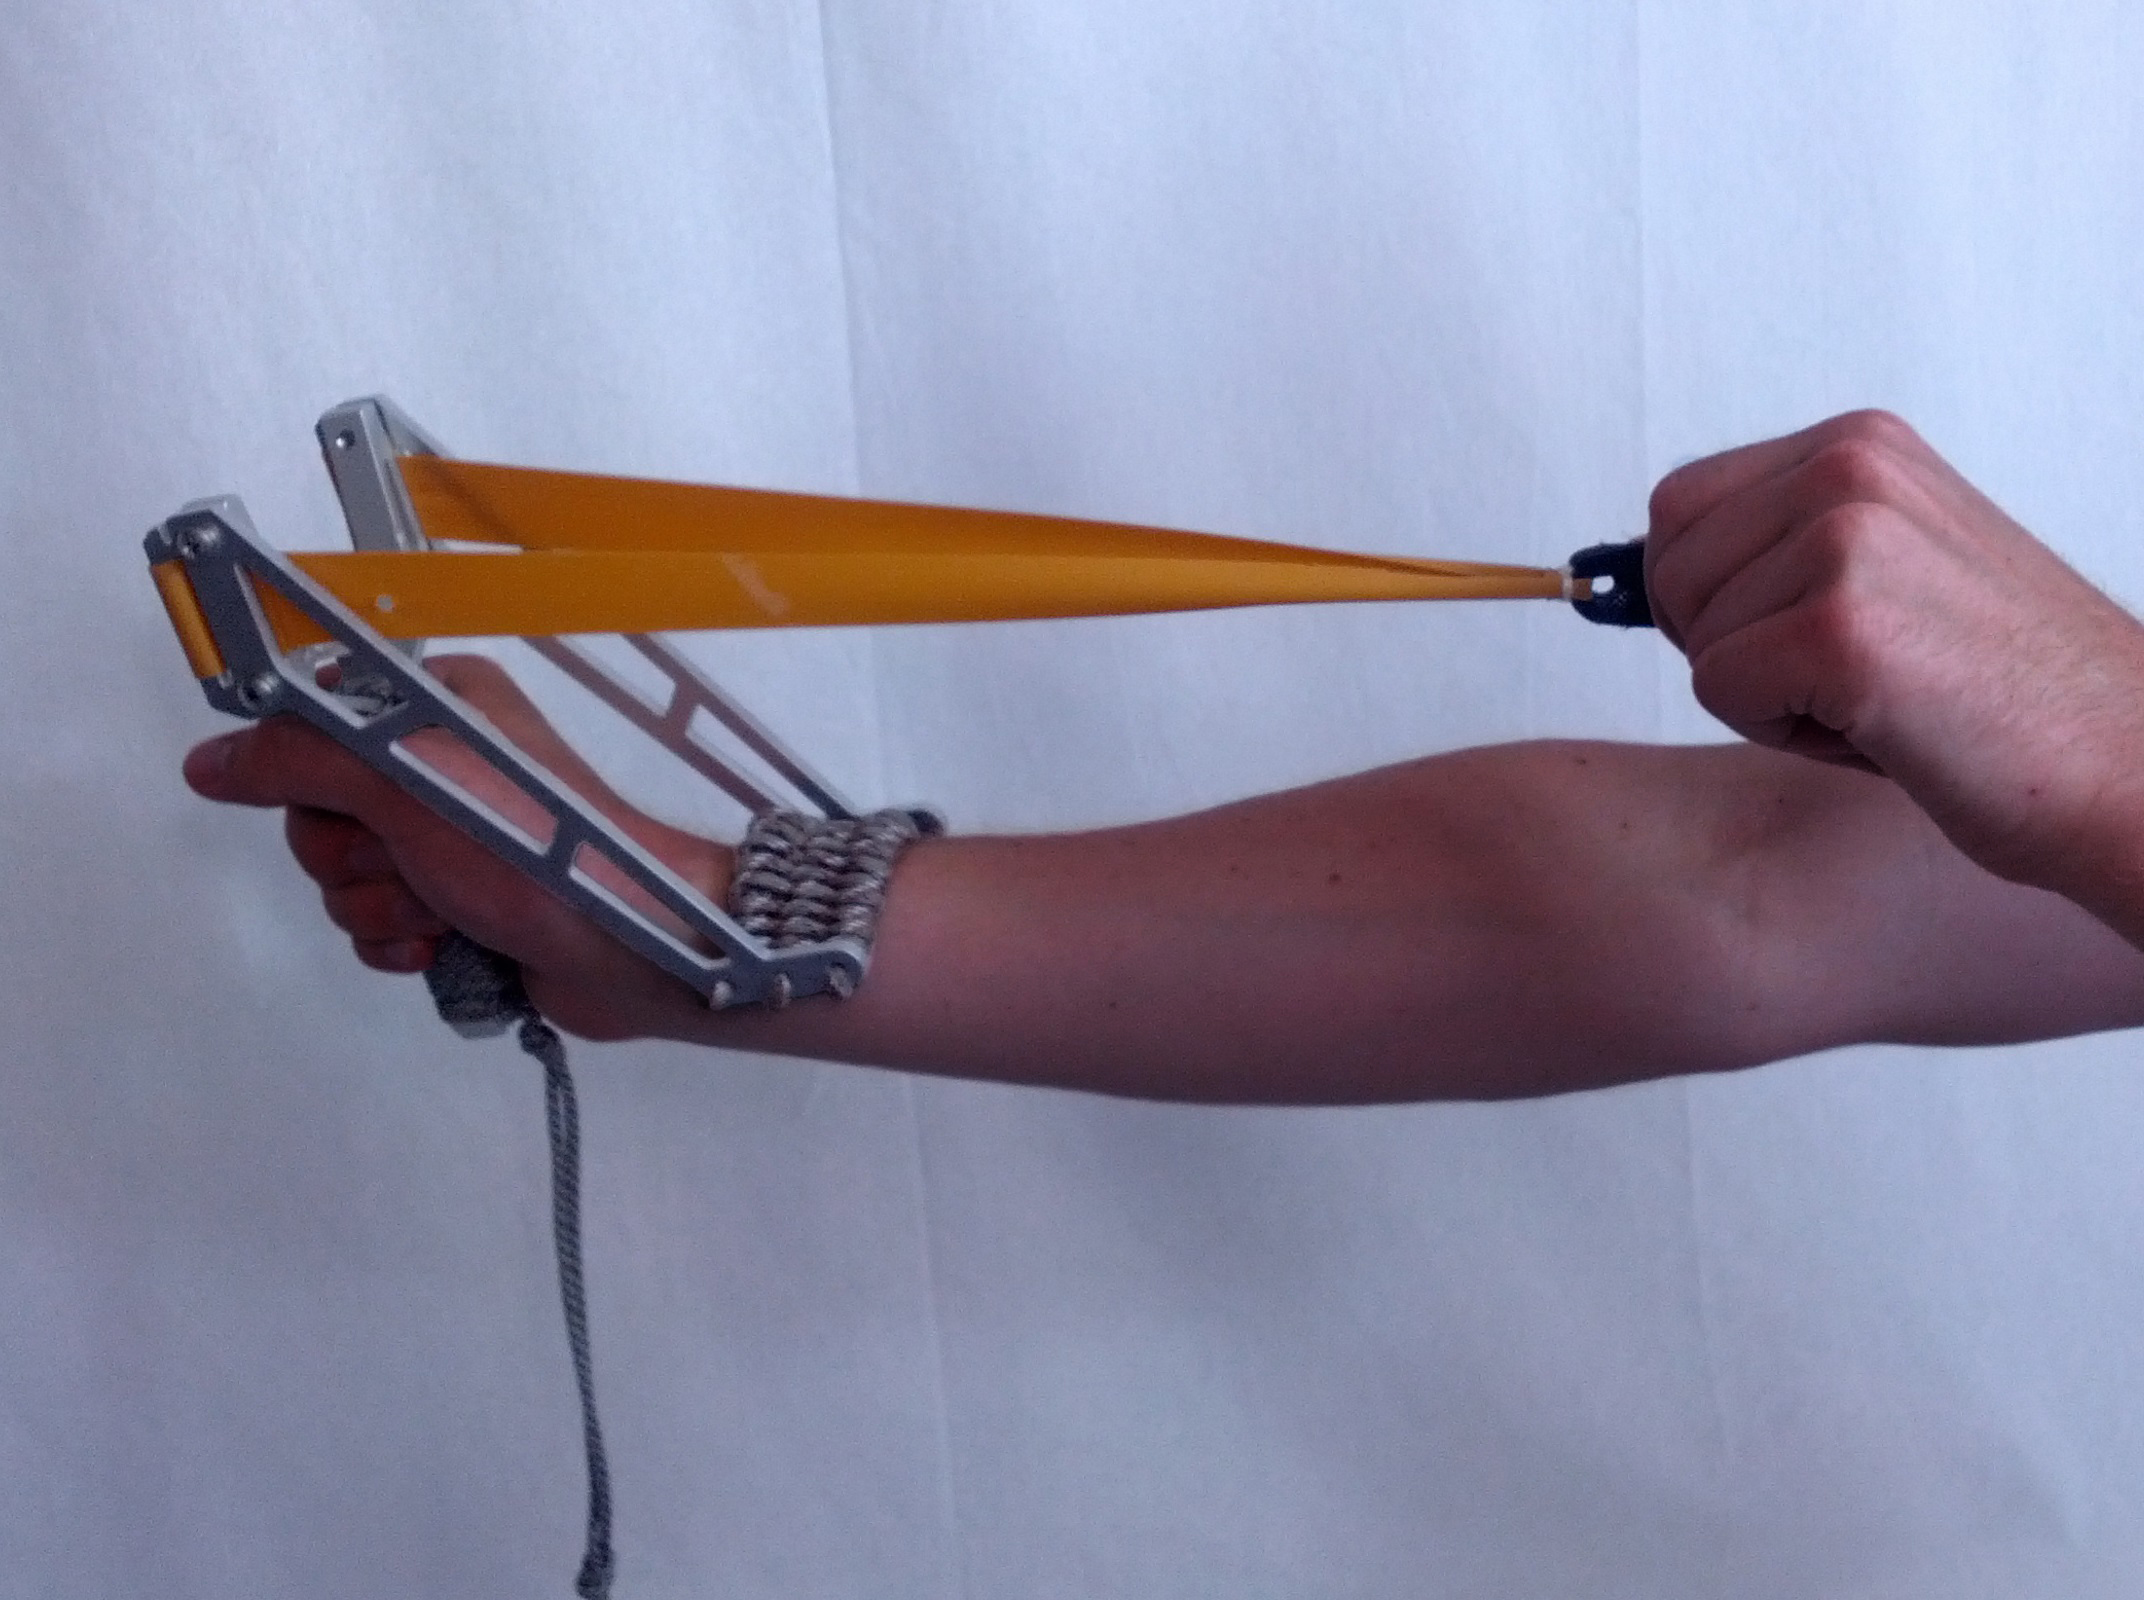
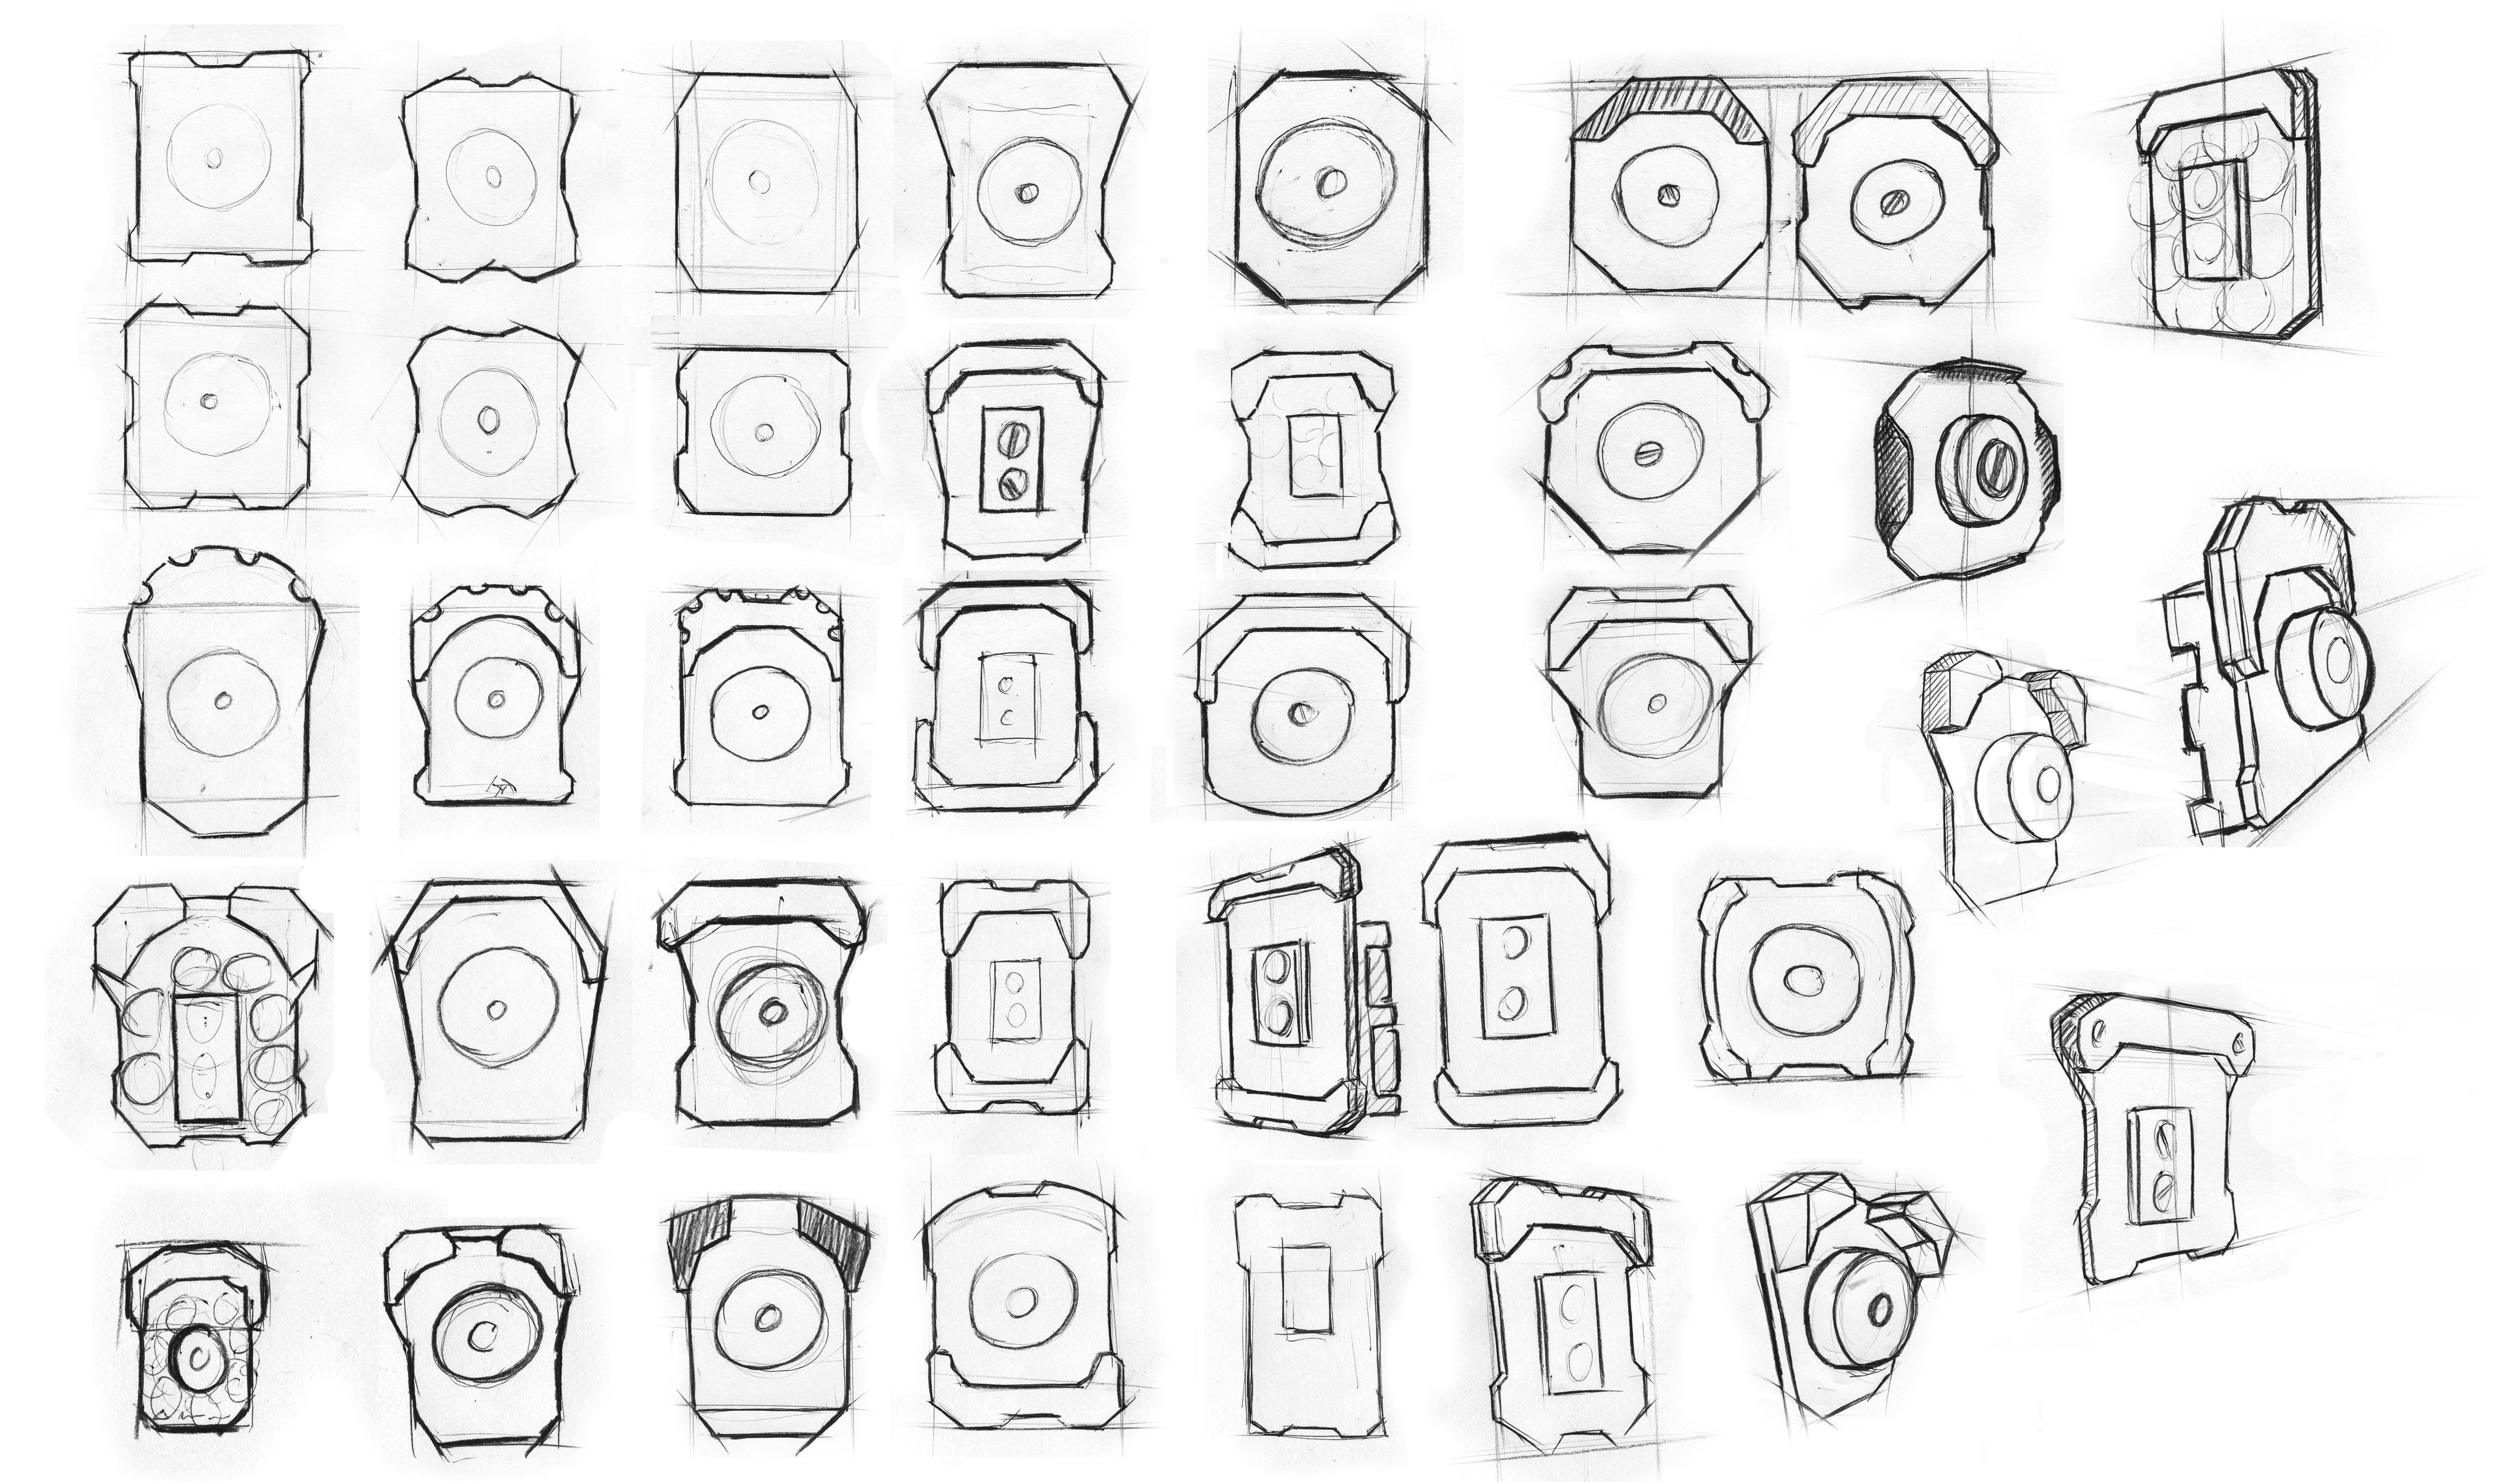
Do really like your Montie Gear slingshot, AR-Rest or other product?  Help us tell the world about the Handmade, Heirloom Quality products that we make right here in NC!

Reviewing your Montie Gear product is a great way to give potential customers access to your opinion before they buy.  We’ve streamlined the review process to make it quick and easy for you.  Please a take a few minutes and review your Montie Gear products by going to www.montiegear.com, logging into your account, navigating to your favorite Montie Gear product at www.montiegear.com and then click on “Add Review”.  Once your review is submitted, please email me at montie@montie.com and I’ll email a coupon code good for 25% off your next purchase!

Share

Kanban Cards at Montie Gear

We use Kanban cards at Montie Gear to manage our inventory.  The purpose of the cards is to make sure we don’t run out of inventory so we have the products you want, when you want them.  Kanban is a way to use a simple formula to determine how much product to keep on hand by using customer demand and the time it takes to produce the product.  You can hear more about Kanban cards at:

How Lean Manufacturing Helps Us Serve Customers Better


Share

Podcast – Introducing the Montie Gear EMP Resistant Box / Faraday Cage

Montie Gear EMP Resistant Box / Faraday Cage

One project we’ve been working on is an EMP resistant box, otherwise known as a Faraday Cage.  This product has applications for military use and civilian / prepper use.  In this podcast I talk about what the box is, the rationale we used to design it, and how we plan to test it.

Click play to listen

For more information visit:  http://www.montiegear.com/EMP-Resistant-Box-faraday-cage.html

Share

Slingshot Band Testing Soon!

This week has been very interesting, we’ve been wanting to test the speed of ammo when fired from the Y-Shot Slingshot, so we setup a testing area in the shop. The setup uses a mechanical release to fire the slingshot and a chronograph to measure the speed. We ran into a problem with the chronograph, it would not work indoors because of the fluorescent lights in the shop.
We need an indoor testing area so we can control the temperature of the room and avoid wind and other variables. We found an accessory that uses infrared LED’s to give the constant light source the chronograph needs to work. We plan to test many different bands and record the speeds compared to our current slingshot bands. The setup is working very well, now that we have the chronograph lights, and we will be testing the bands soon.

Thanks for Reading,
Daniel Helms

"Looking down the barrel" of the slingshot.
“Looking down the barrel” of the slingshot.

Slingshot Test Area

Slingshot Test Area

Share

Paintball Marker Stand

Hey Y’all,

Over the past few weeks we have been working on a Paintball Marker Stand. This stand can be broken down into three pieces using the pins on the sides of the stand. The marker is supported by the U-Shaped cut out in the back of the stand and the Slot in the front of the stand. The sliding cylinder, seen in the middle of the stand, allows this stand to support the marker and prevent it from falling forward and out of the stand. This slide also allows the stand to work with multiple markers. Everything is going well and we should be trying out a prototype soon.

Thanks for Reading,
Daniel Helms

Paintball Stand Render 1.WITHMARKER

Paintball Stand Render 1.WITHOUTMARKER

Paintball Stand Render 1.FRONT

Paintball Stand Render 1.BACK

Share

Parts!

We (the interns) went on a field trip this monday, to ADR Hydro-Cut. They do water jetting, and while we were there they cut out sheet metal parts according to our drawings.

IMG_20130724_150521IMG_20130724_150548 (1)

The parts arrived yesterday, so we grinded the tangs of and threw them in the washer for a couple of hours to smoothen out some sharp edges, and then they were pretty much ready to go.

IMG_20130724_151524 (1)IMG_20130724_151820

Spent a couple minutes putting it together, and it looks and feels great! I might make some minor adjustments to the drawings, adjusting the angle of the paracord braiding, and I also have to figure out how the braiding itself is done in the best possible way.

Apart from that though, they’ll be ready for anodizing/powdercoating. And with that, we’ll have a product!

/ Robin

Share

Ball dispenser sent off for prototyping

Hey!

So the belt clip ball dispenser is finally coming together. After testing more mock-up models the decision was taken not to use any plate or similar to separate the balls from the magnet, as more than one kept falling off when trying to pull only one off. Instead the magnet will be coated with a durable finish and the balls will be in direct contact with it. This simplified the design significantly, but put increased the demand on the aesthetic form of the back plate, as this now became the mail feature of the whole product. A simple plate can have many different forms:

assembly

One option was to add a top bumber to create a feeling of better encapsulating the balls, as well as giving more depth to the product. Unfortunately, the manufacturing complexity of adding this feature was greater than expected. As this would drive up the cost of the product a lot the decision was taken to put this feature on hold for now.

As for the final design the initial round magnet was kept and the plate form includes some curved lines to follow the magnet while still keeping some edges to go with the rectangular belt clip. After quite a bit of struggle finding a good form, this one actually feels pretty obvious I would say! Let’s just hope the prototype will look just as good!

Have a good weekend!

/Richard Boden

untitled.189untitled.191

Dispeser, round, belt.210 copy

Share

More slingshot accessories

Hey agin!

So the slingshot sights are sent off for prototype parts to be made and we’re all looking forward to try them out once they get back! Since then I’ve been working on developing some handy ball dispensers for the slighshot ammunition. As the most frequently used ammo for slingshots are steel balls it didn’t take long to realize that magnets could be very useful for these products!

IMG_1152

After receiving some a bunch of different magnet samples, some early ideas were tried out by building some quick mock-up models. Most ideas worked out really well with the magnets and after a day of testing we had three pretty solid concepts; one in aluminium, one in leather and one that could go on your wrist or belt.

IMG_1156


This friday has been spent exploring different designs for these concepts. We’re getting somewhere with all of them and the next step will be to build some more accurate prototypes to fully test the functionality. Will keep you posted  on how that goes! Below are some sketches of possible designs.

/Richard

IMG_1147 IMG_1148 IMG_1151

Share

Whisker Biscuit Mount For Y-Shot Update

Hey Y’all,

This week I’ve made some progress on the Whisker Biscuit Mount for the Y-Shot. When the Whisker Biscuit arrived there were a few problems with the dimensions but, those were worked out pretty quickly. I made a quick model from PVC and we did some testing with it. Everything went great and I’m working on the aesthetics of the design. A prototype is in the works based on the rendering in the pictures but, the design might change some more.

Thanks for Reading,
Daniel Helms

Whisker Biscuit For Y-Shot Front

Whisker Biscuit Mount For Y-Shot Back


Whisker Biscuit Arrow Rest Distance Test Medium Quality Video

Share

Montie Gear Y-shot Wrist Adapter – Robin

Hello everyone!

My name is Robin, and I’m the next summer intern in line to introduce myself. Just like Richard, I’m an Indutrial Design Engineering student from Chalmers University in Sweden, and just like Richard, I’ve started working with accessories for the Y-shot. My main project so far has been a wrist support. This will unload the stress on the wrist, which can be significant if you’re shooting a lot or if you’re using a strong rubber band.

IMG_20130703_164351

I tested a few mock-ups to get an approximation of the right dimensions, and to make sure that the side brackets wouldn’t get in the way of the hand.

IMG_20130703_155230x

Since the Gloveshot has a similar function to the wrist adapter, and the same design language as the Y-shot, it was my main inspiration during the sketching process.

IMG_20130703_155230x21

I finished the drawings for the prototype a couple of days ago, so now we’re just waiting for the side brackets to arrive. Can’t wait to put it together!

To be continued.

/Robin

Share

Whisker Biscuit Mount for Y-Shot Slingshot

I’m Daniel, an intern at Montie Design this summer and I’ll be starting my Senior year in Industrial Design at Appalachian State University this fall. I’ve been working on a Whisker Biscuit Mount for the Y-Shot Slingshot and it’s going pretty well.

I started by looking into ways that people were already shooting arrows from slingshots and ran across a video by Dave Cantebury. Dave was using a simple keyring and a few pieces of rubber to shoot arrows from his slingshot. This looked like a great idea to me, so I used the Y-Shot Arrow Rest with some pieces of shock cord to make a similar set up. It worked great but, a whisker biscuit would be better. This gave me an idea for how to mount the whisker biscuit and use brackets from the Y-Shot Arrow Rest.

The concept is a tube that will hold the whisker biscuit in place and use shock and cable to attach to the Y-Shot brackets. So far, everything is going well and we should be working on a model soon.

Thanks for Reading,
Daniel Helms

Key Ring Arrow Rest Adapted from Dave Cantebury

Whisker Biscuit Mount Concept

Share